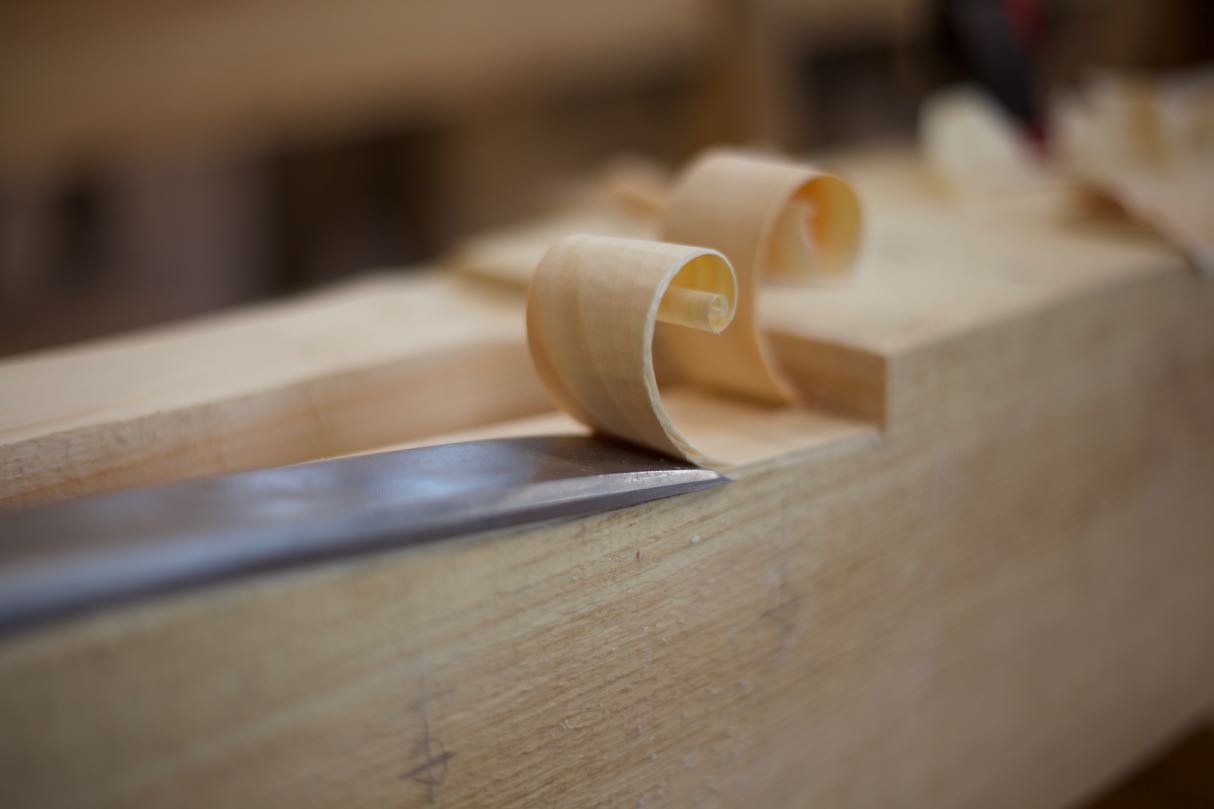
If the first day was all about setup, the next few days were all about making shavings fly! The timbers had been cut to rough length the day before, so we wasted no time laying out our joinery.
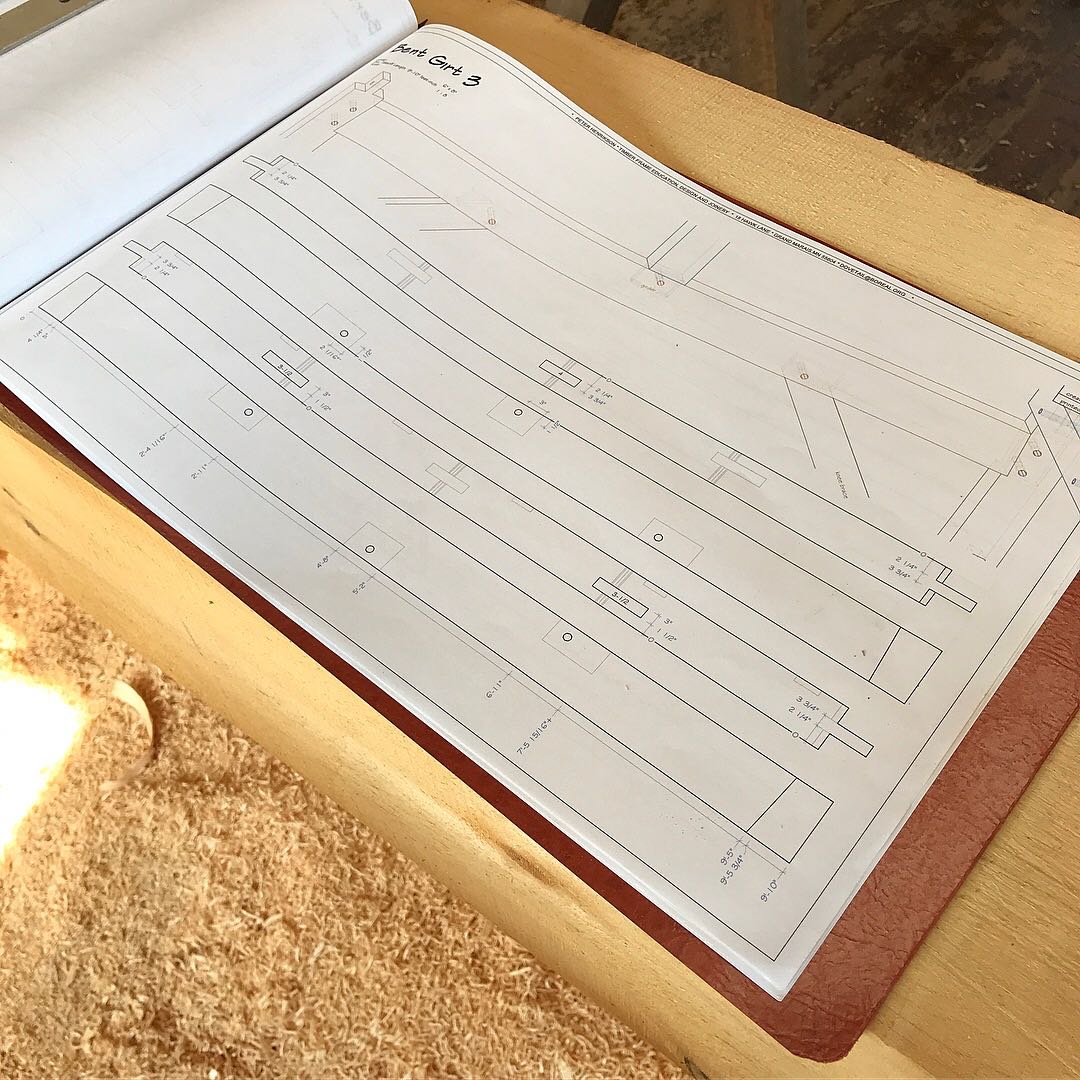
After our instructor double checked our layout lines he would mark them with chalk so we could see at a glance which joints were ready for cutting.
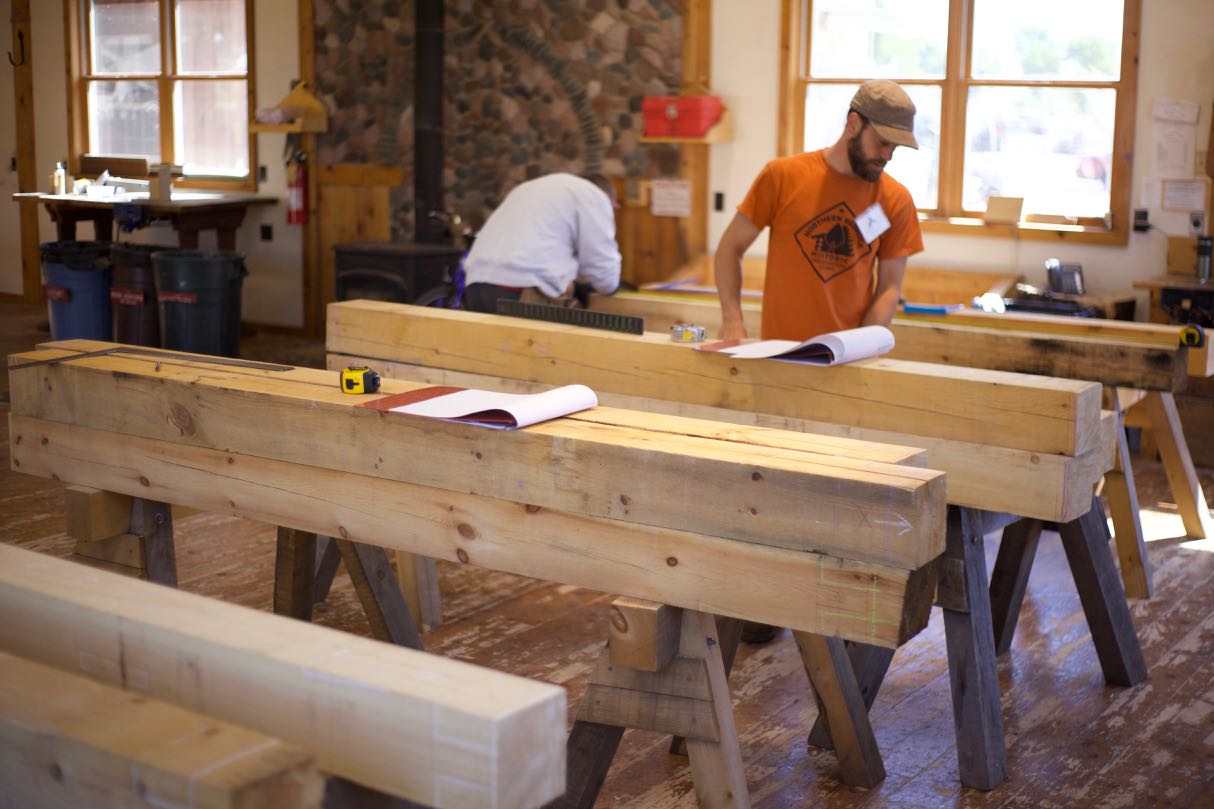
Most of the woodworking I'd done up until this point could be considered miniature in comparison to the large joints we were now cutting.
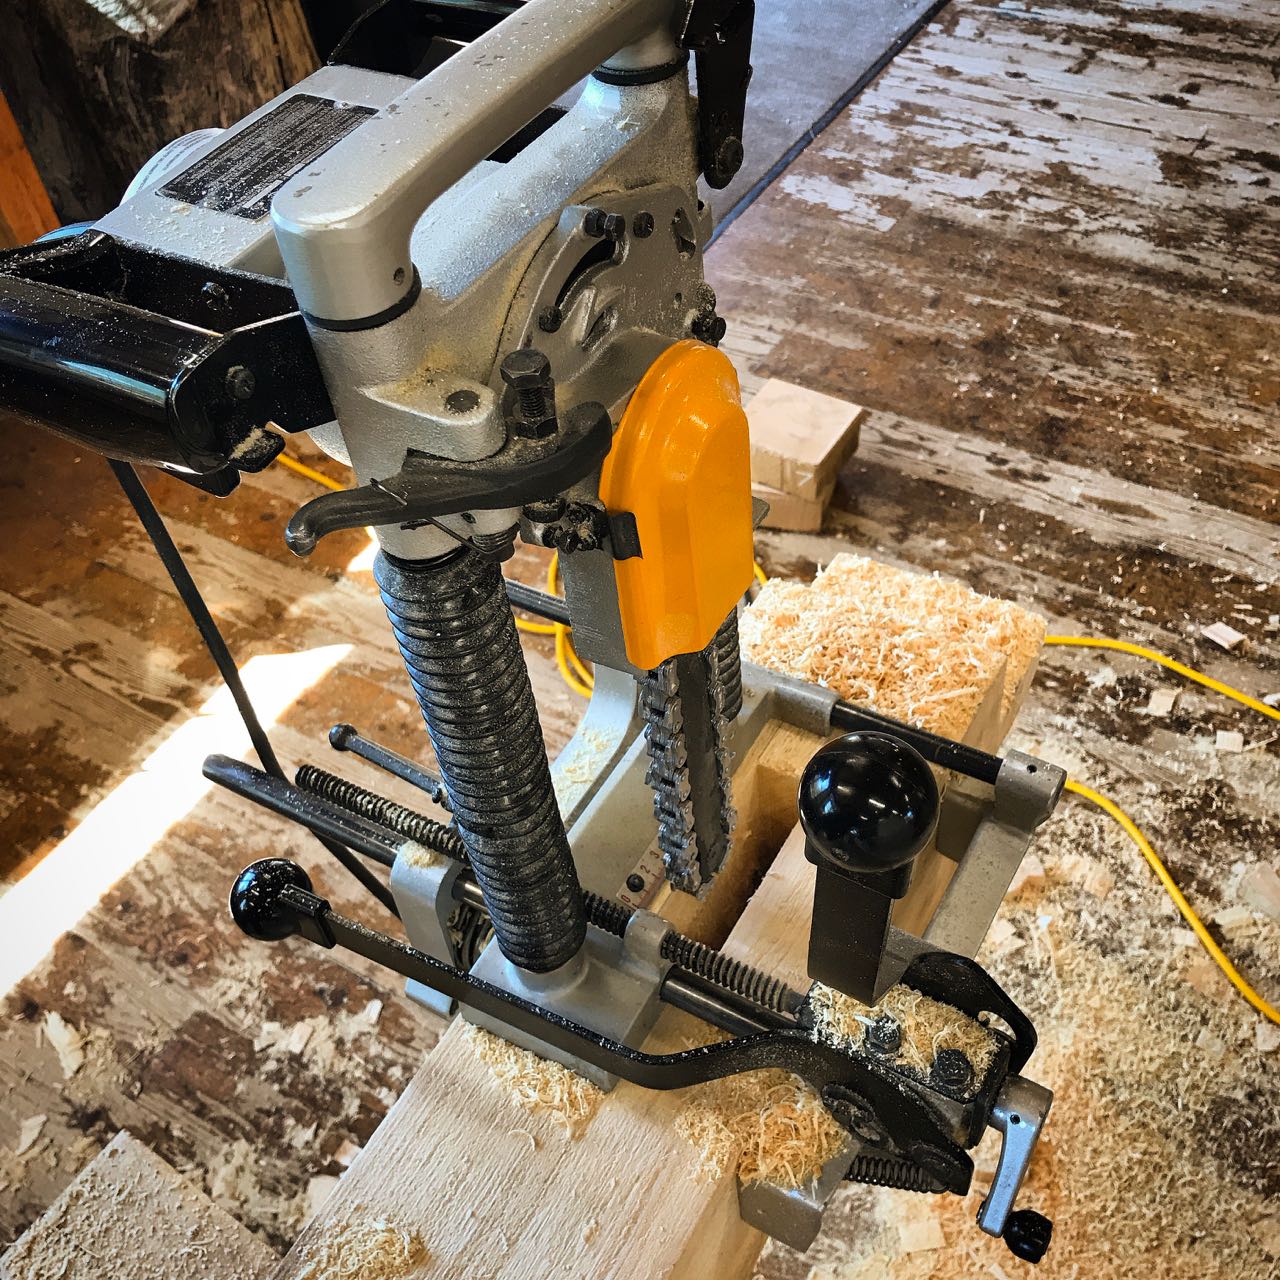
Soon in to the second day I began to appreciate the blend of power and hand tools cutting timber frame joints required. I would not have wanted to hog out all the mortises by hand and quickly became grateful for the chain mortising machine.
While the mortiser still required some manual chisel work it saved a great deal of time by removing material so quickly. It was a noisy beast of a machine!
Timber framing is all about understanding the physical properties of the wood as each species have different strengths and weaknesses. We build our structures out of eastern white pine which is a fine mixture of overall strength with the added benefit of being respectively light.
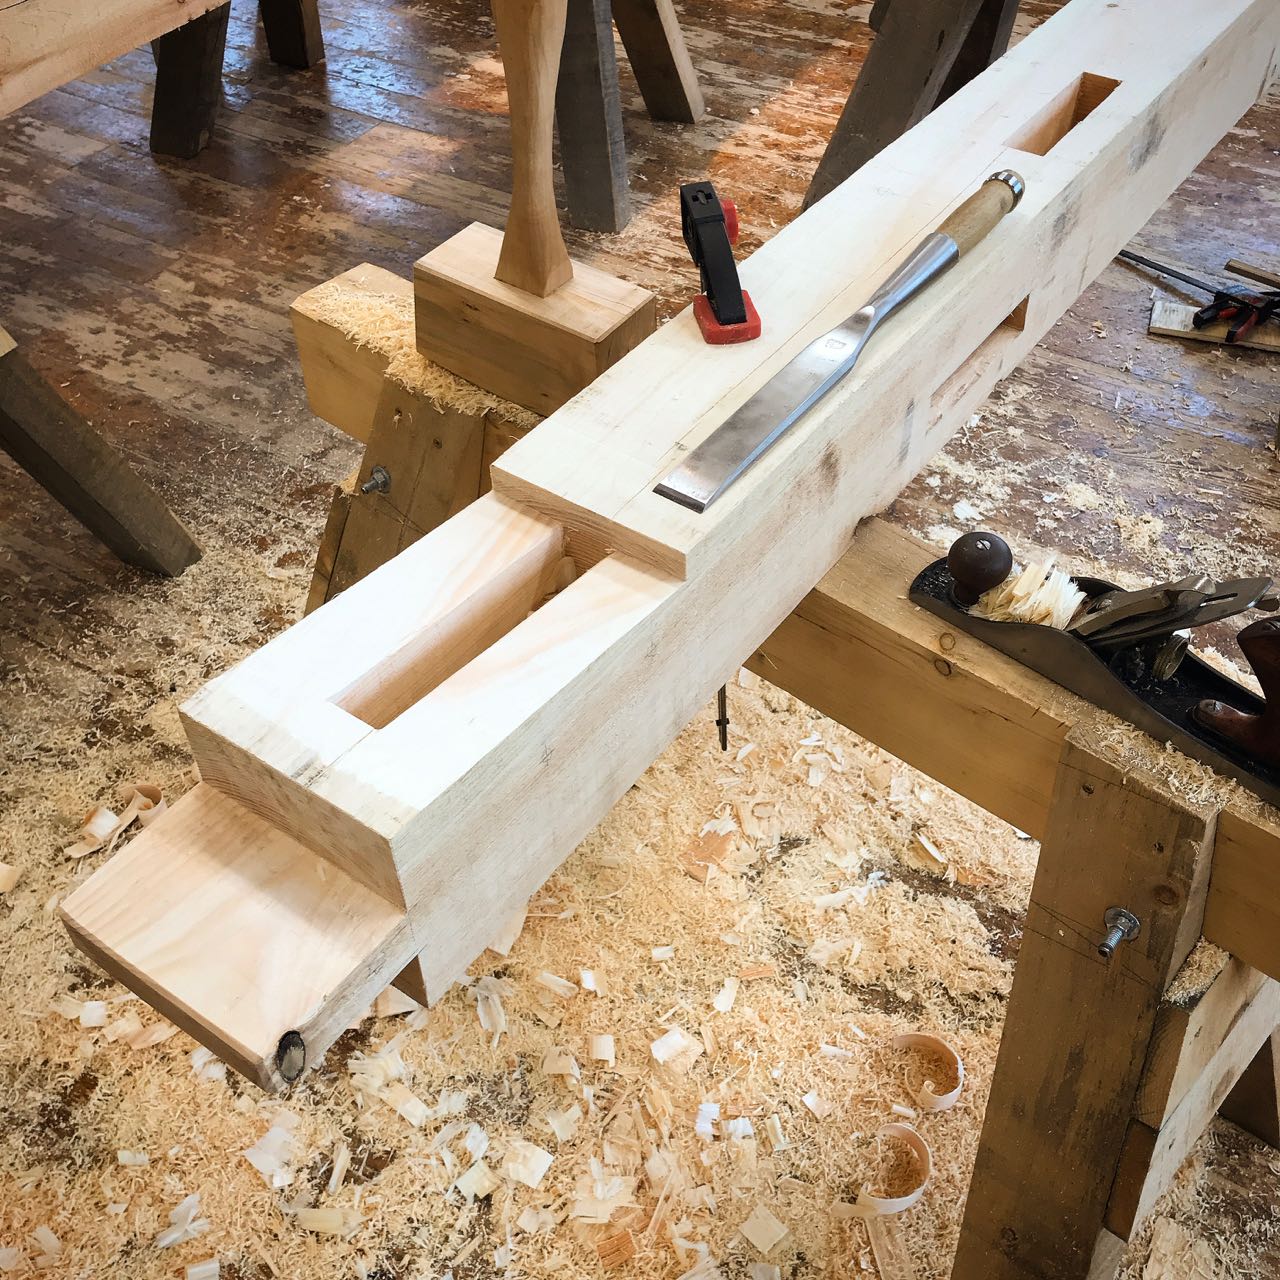
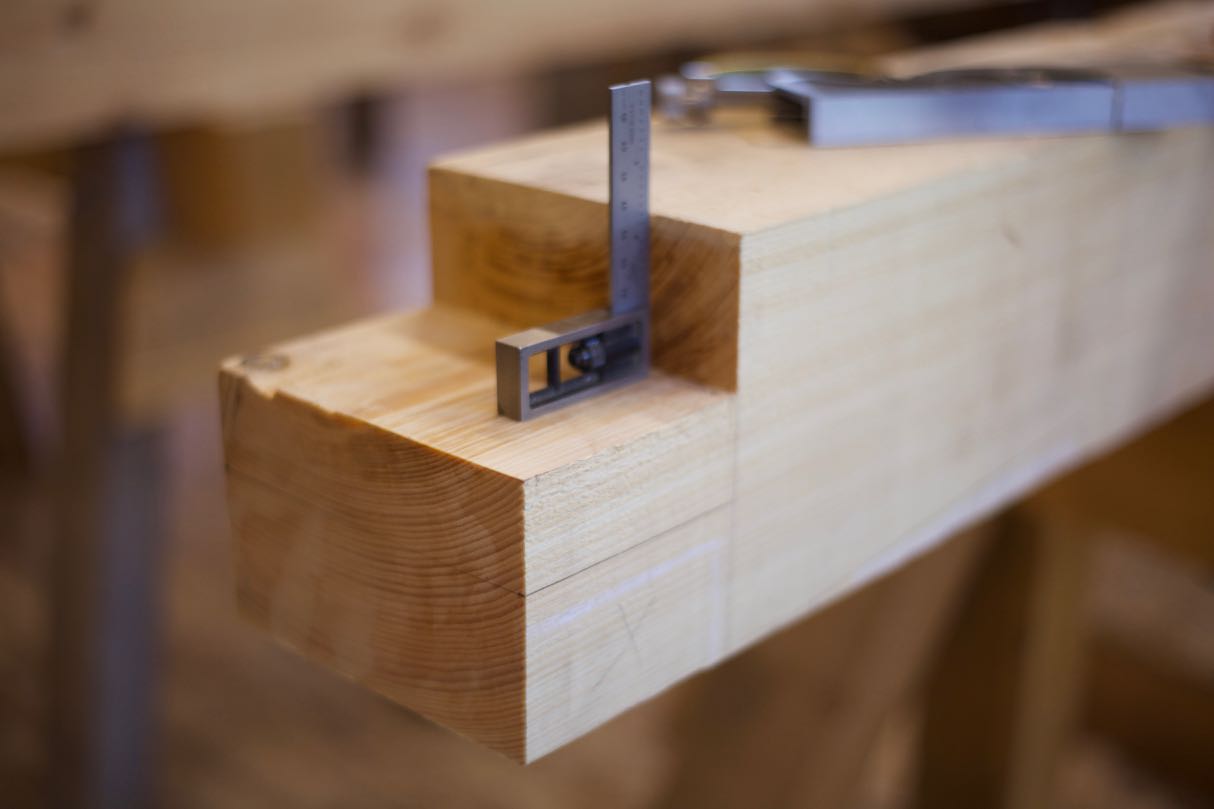
This joint is at the top of each of the six vertical posts. The haunch accepts a tenon and strengthens the brace by providing a shoulder for the beam to sit on. It is then held in place with large wooden pegs that are driven completely through both the post and the internal tenon.
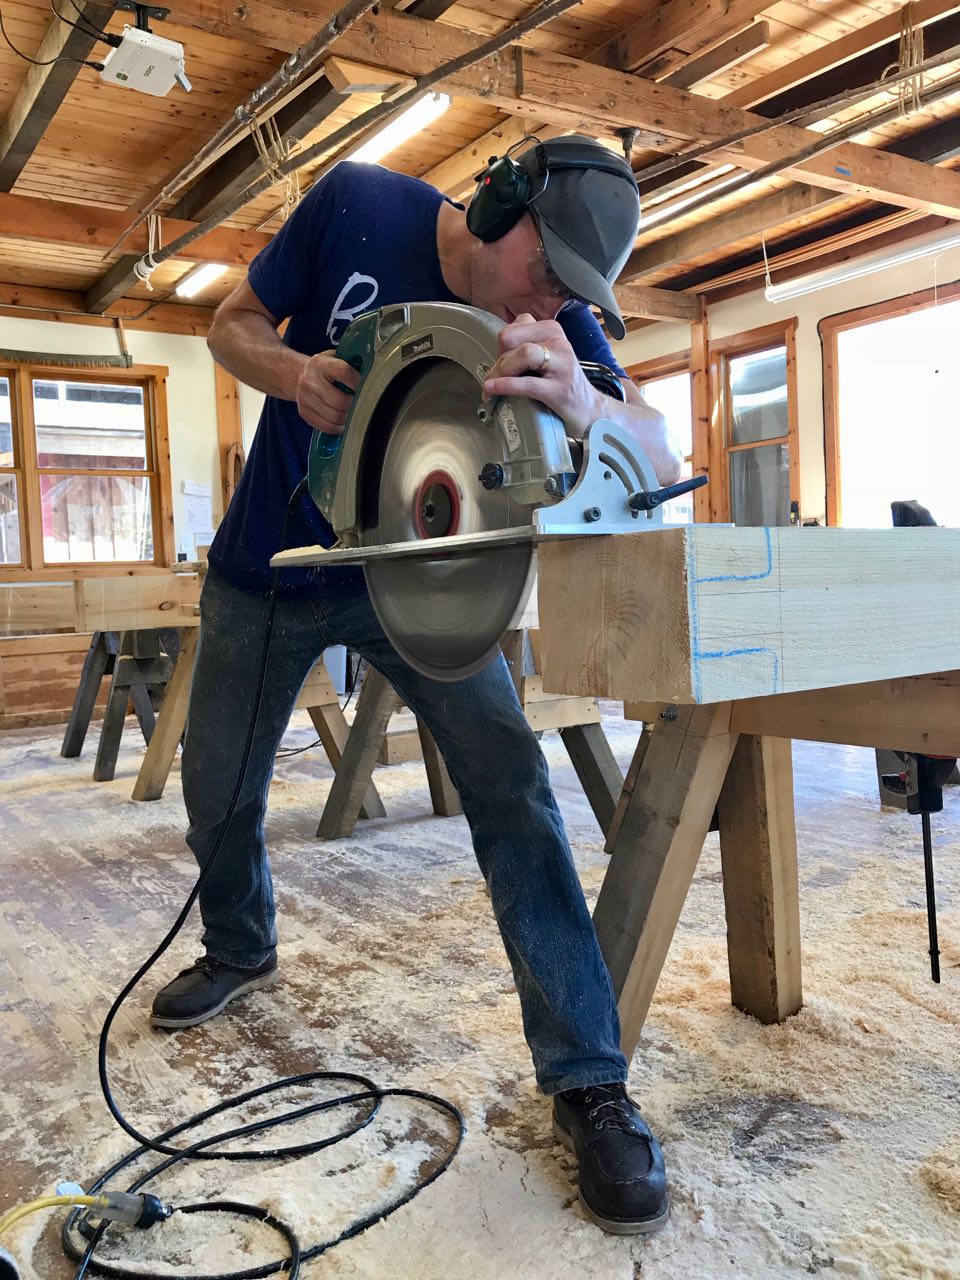
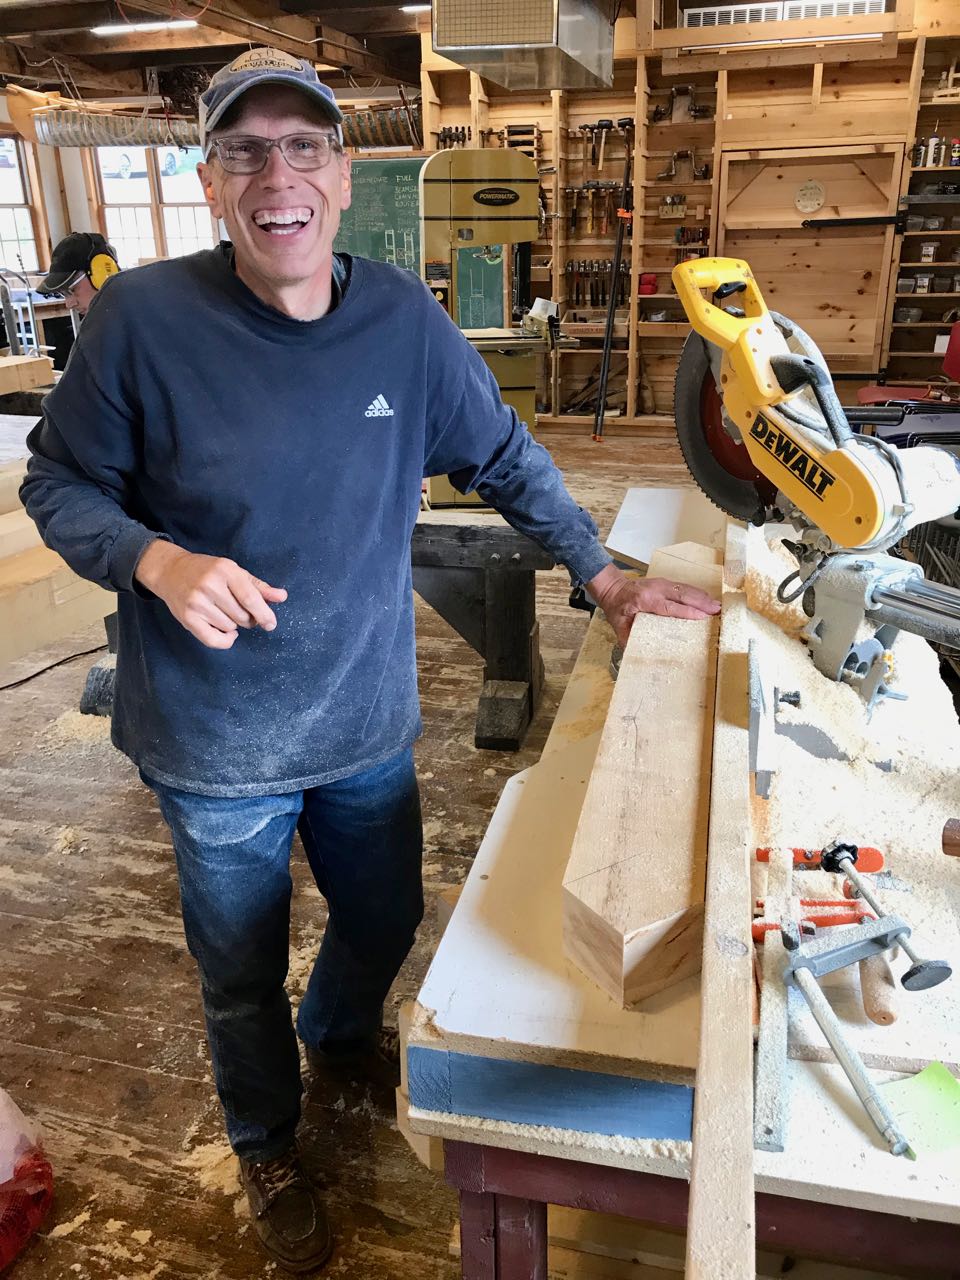
While my preference is to use sharp hand tools, I have to admit that the beam saw was pretty awesome too!
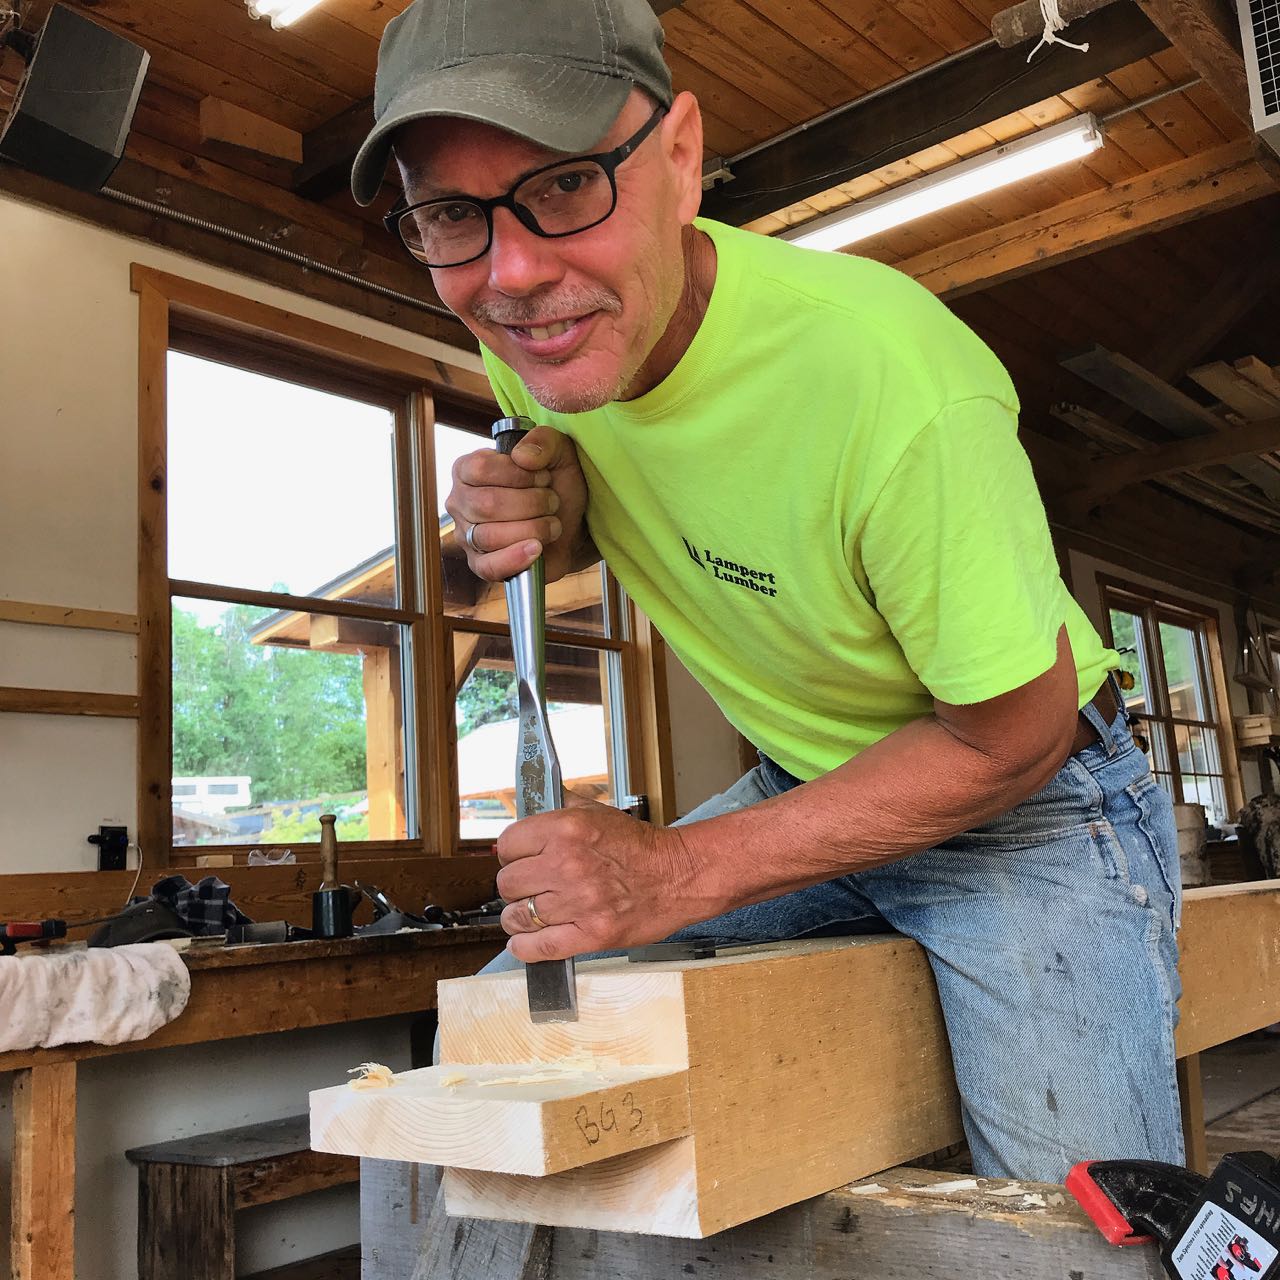
A few days after the course started my dad joined me as my "shop buddy". It was a special time to share with him. Back in high school I used to help my dad on his carpentry projects. We joked that our business name should have been "Stupid & Clumsy Construction Co."... I'll let you guess which one of us was which!
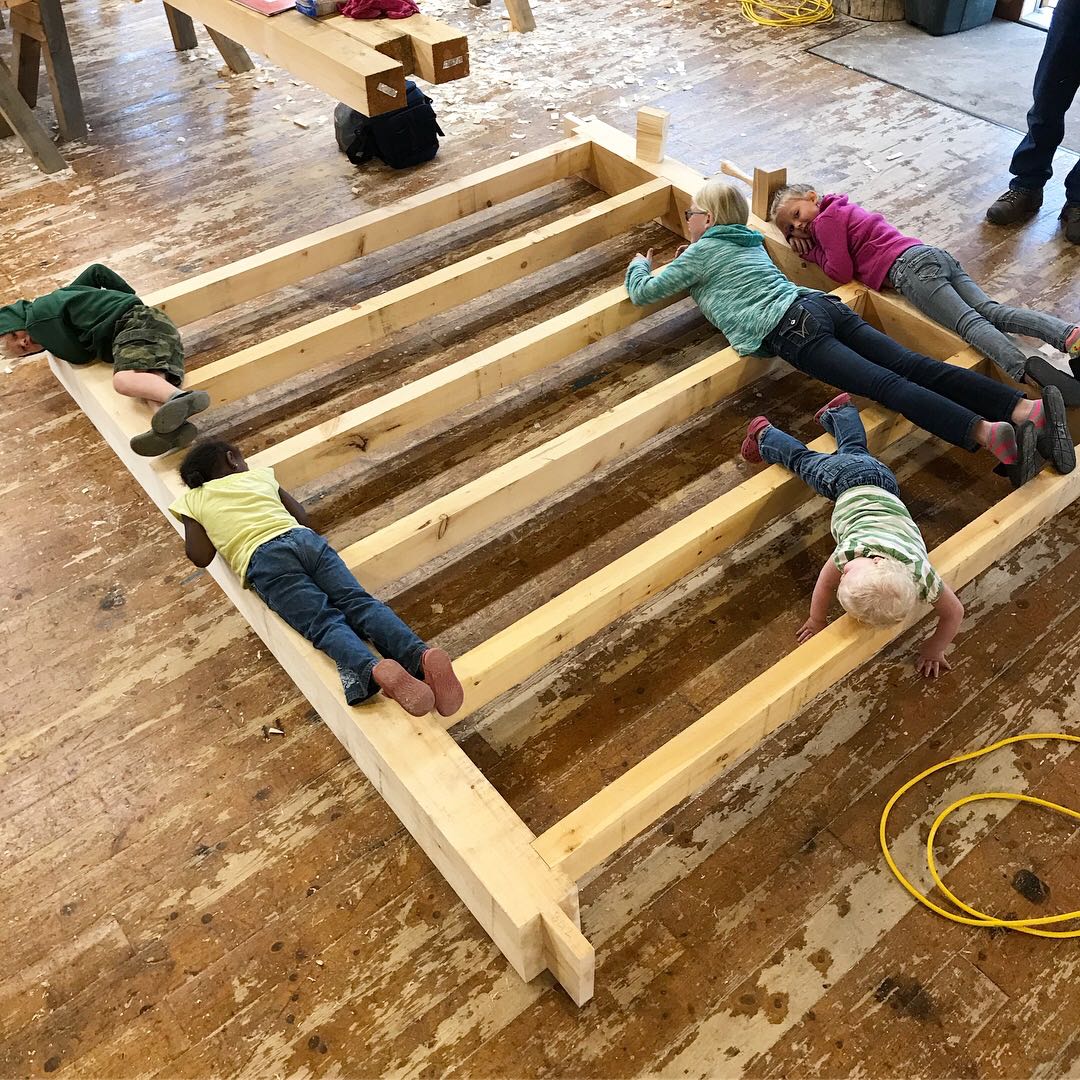
April and the kids frequently dropped by the classroom, normally bringing lunch that we would share out by the water. It turns out that the kids make excellent ballast while I chiseled out a tenon.
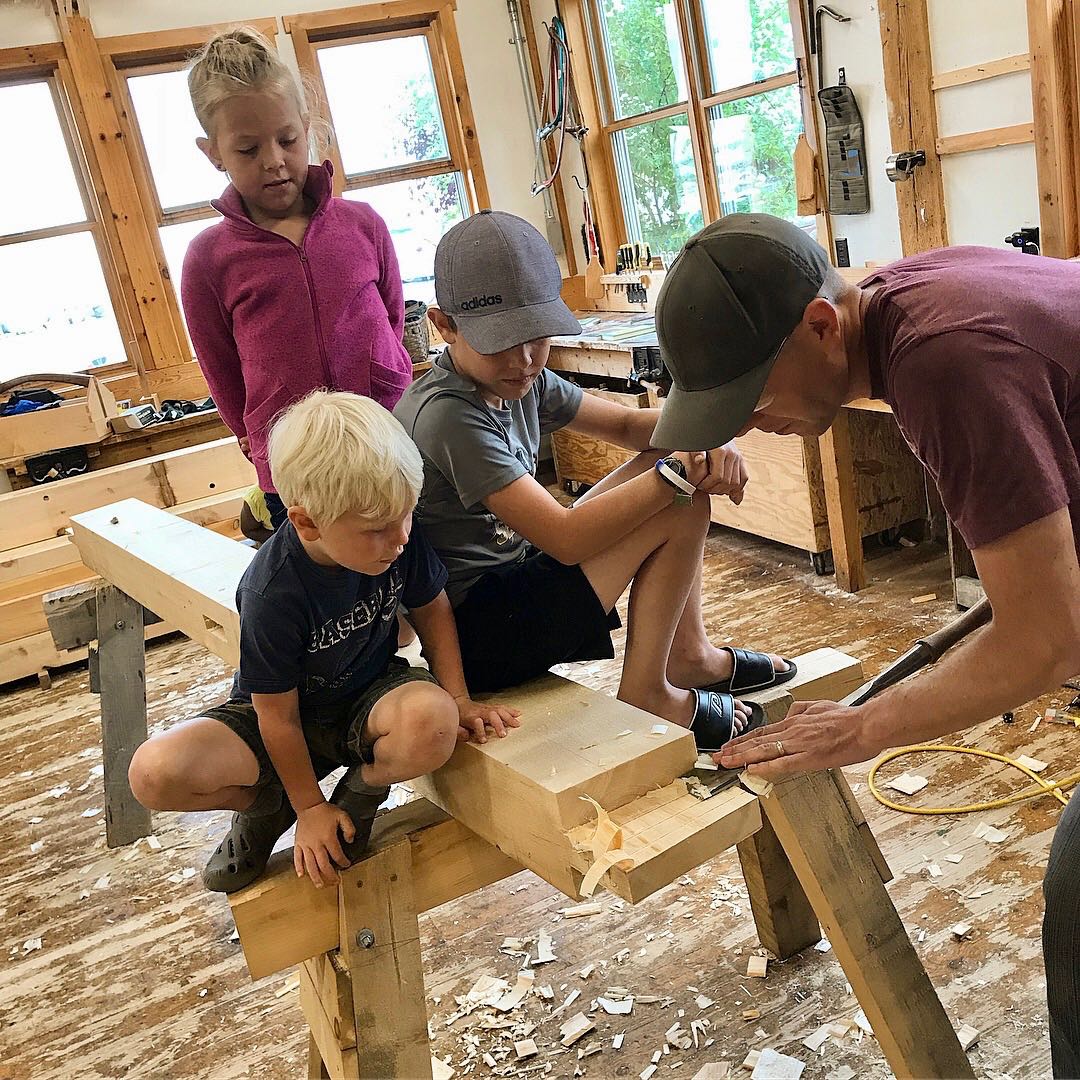

They were especially excited to try out the loft after I said they would be able to sleep in it after we had the cabin set up.
Another friend of mine came to help out for the second half of the week. Gary is a neighbor and as a 5th grade school teacher had the time to come work on the project for a few days. He is also the kind soul who was willing to put the whole cabin on his trailer and tow it all the way home after the class wrapped up.
In a matter of a few days we went from a stack of timbers to beams cut to specific lengths with precise joints...
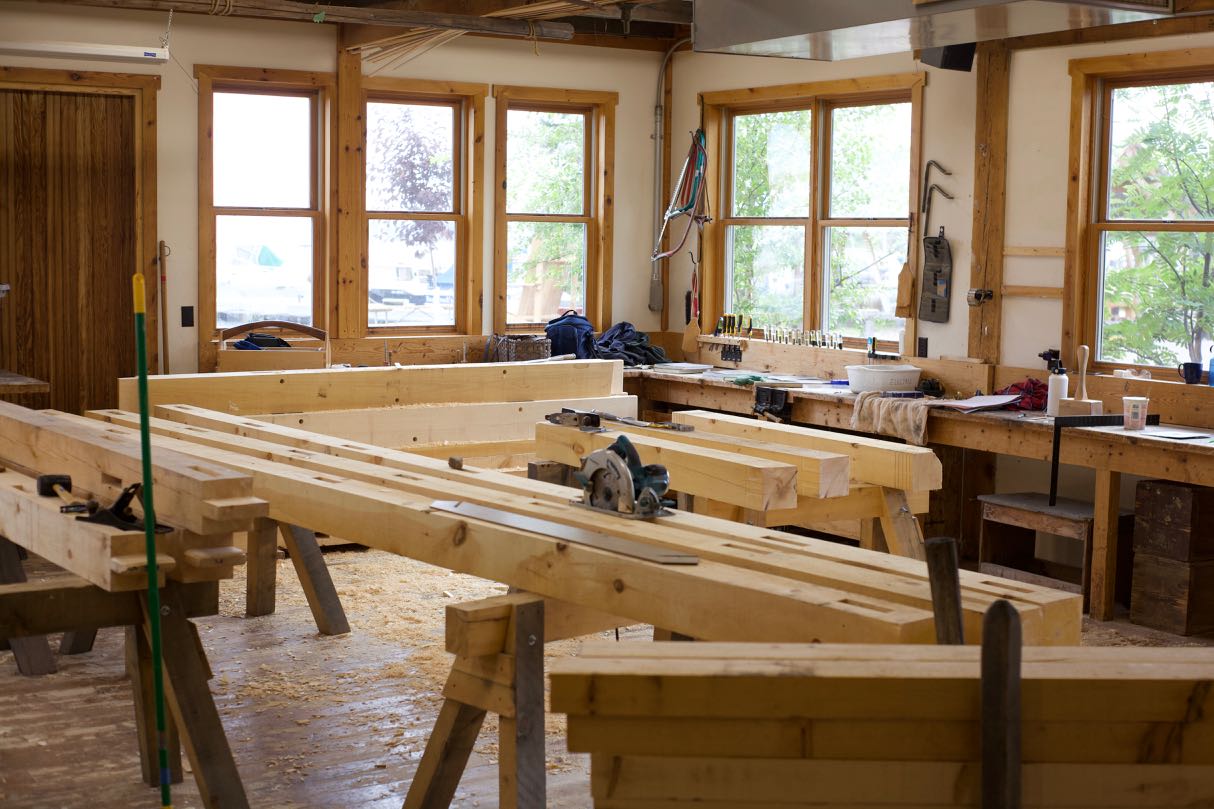
...to a structure that began to resemble a cabin!
We weren't going to set any of the building up at the class but I couldn't wait! With Gary's help we set up the two top plates, the cross members, loft planks, king posts, and ridge. It was very rewarding!

It was bittersweet, but at the end of the nine day course Gary and I loaded up the structure on the back of his trailer and said good bye to North House Folk School.
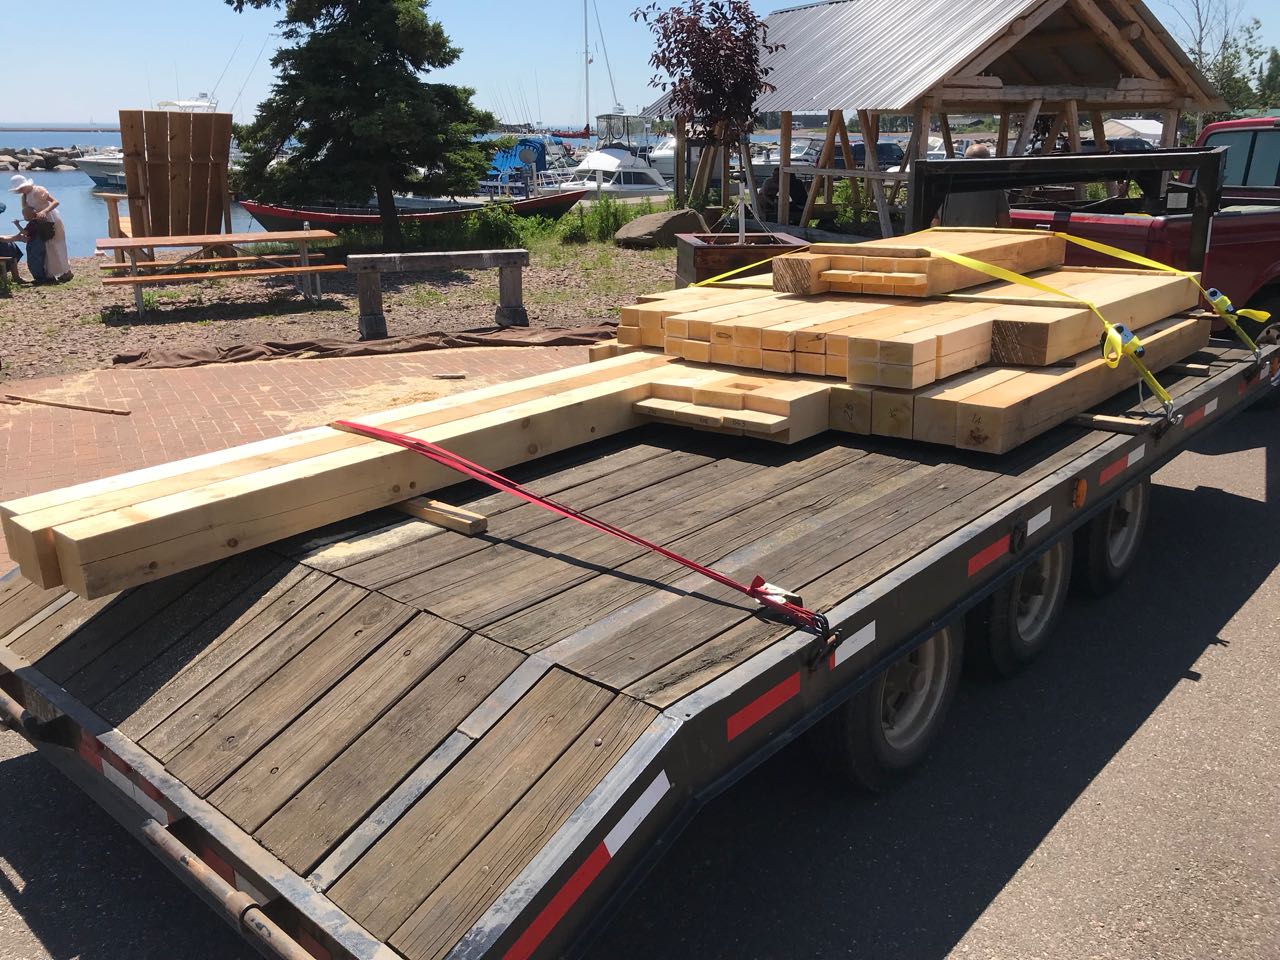
For now anyhow...