When we first moved the office to the cabin we chose to put the desk facing the window with the worst view. The logic was that I'd want to save the best views for windows that wouldn't be blocked by a desk and computer screen.
This worked fine until I had to relocate due to the sunshine coming in through the triangular windows.
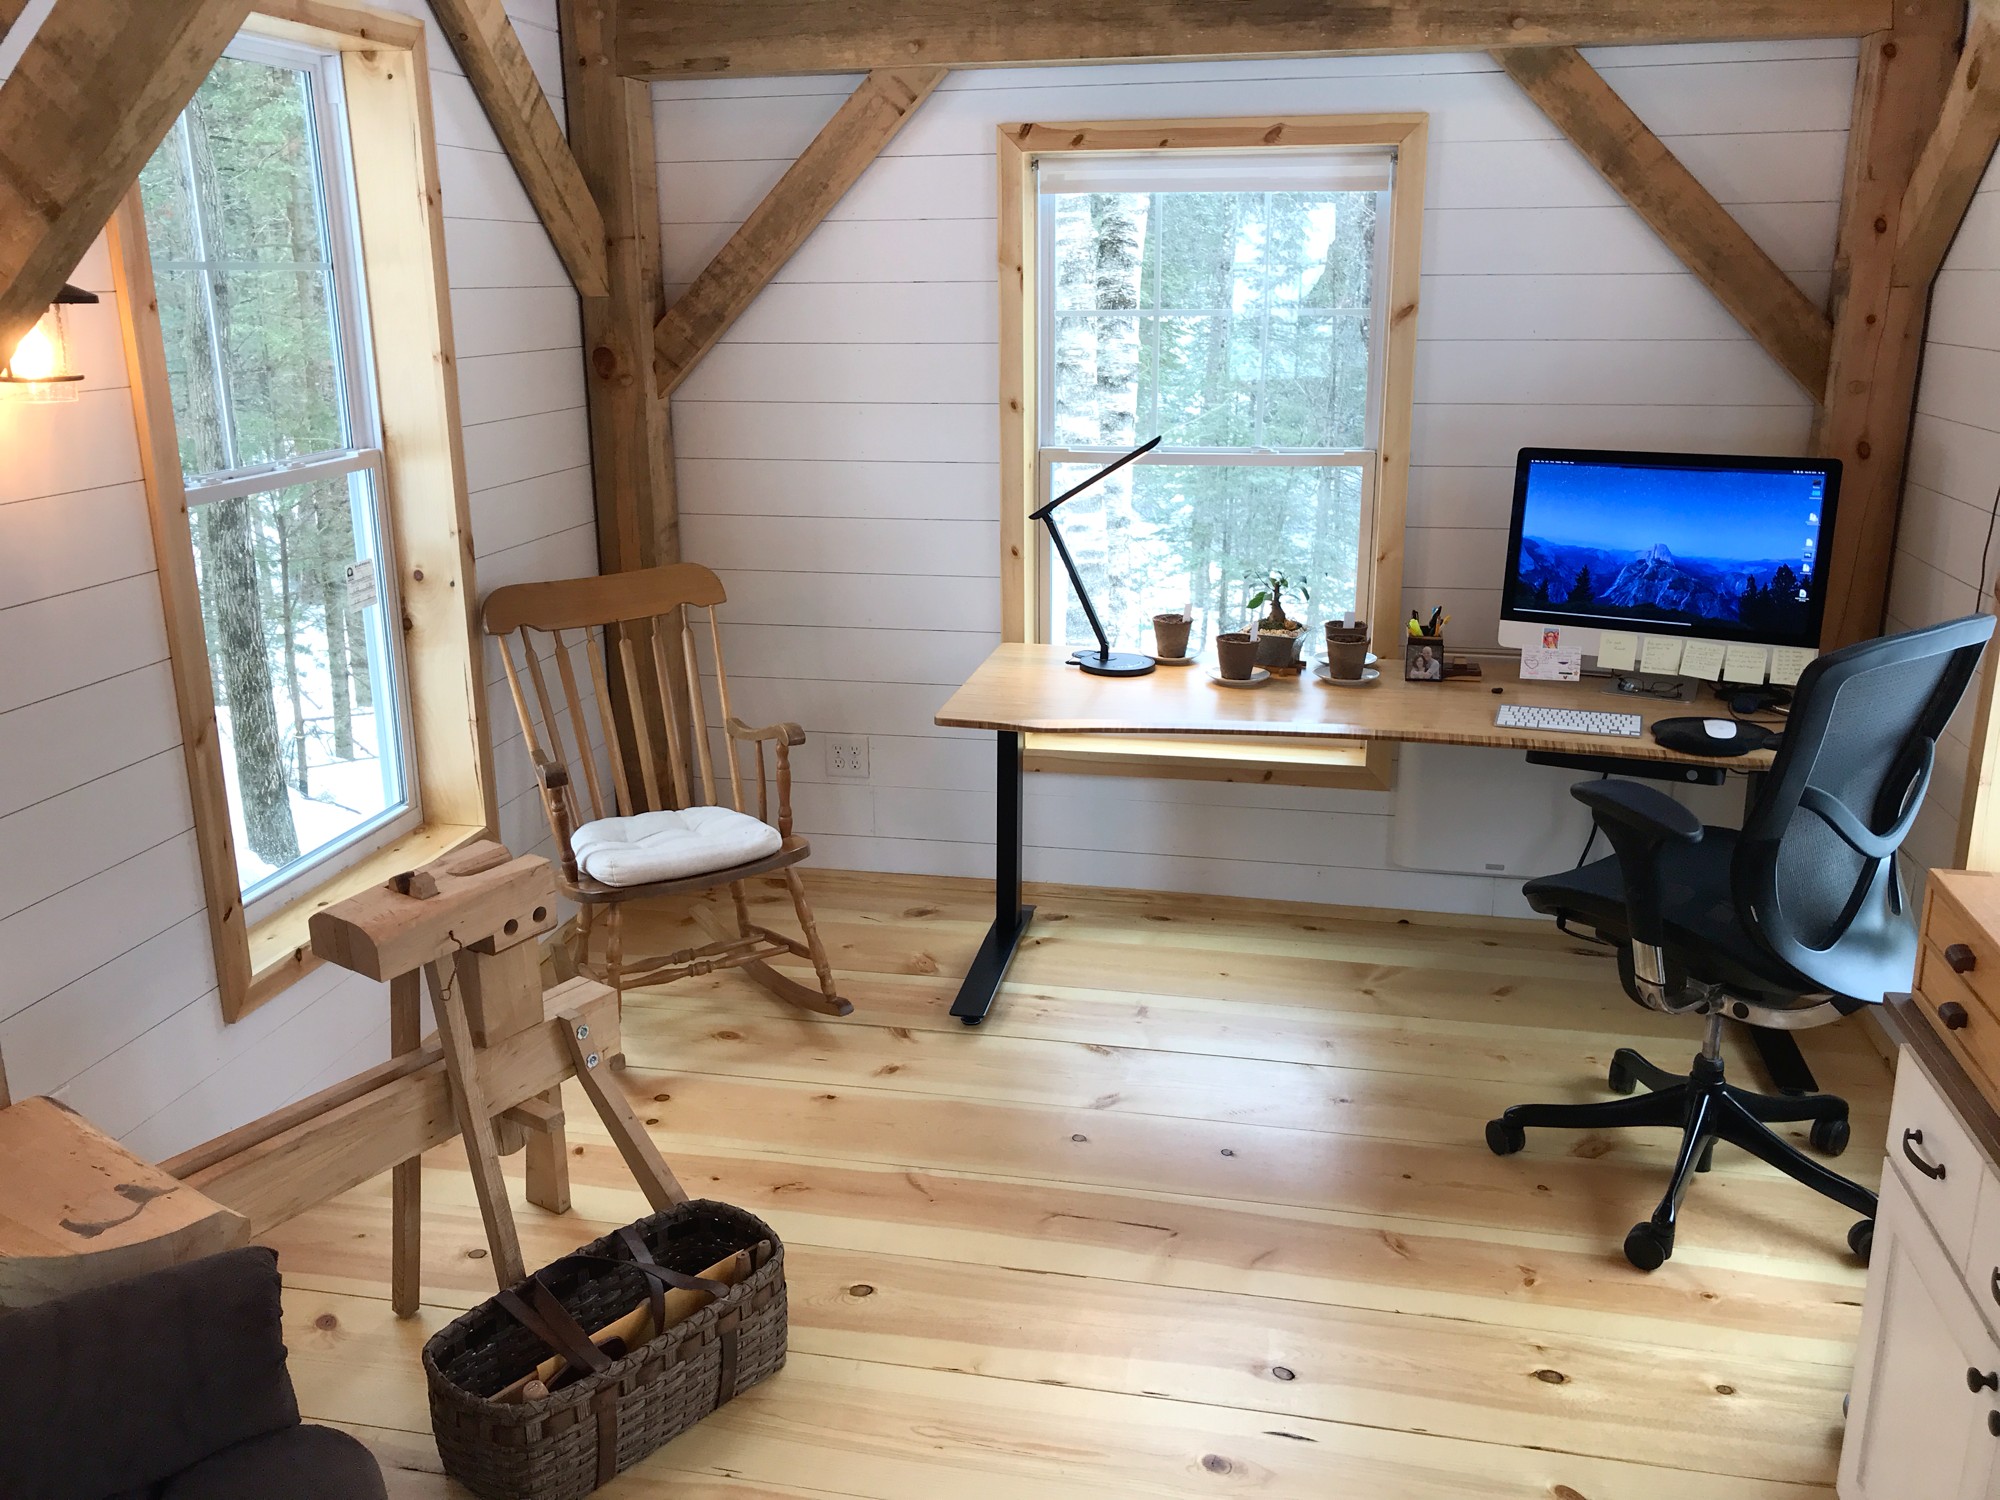
Moving the desk to the south wall helped with the glare but something still wasn't sitting right with me.
One of the trade-offs of having so many windows is that there is very little open wall space. With a desk that was nearly 5' long there were no arrangements that kept the windows unobstructed.
On top of that, when I would have a guest come for coffee there wasn't a comfortable way to sit where you weren't uncomfortably close to the other person, or too far apart! #awkward
Something Had to Change
The Jarvis sit/stand desk is a really nice unit... it was just too long for the cabin. When we purchased the desk we had the option of a number of different length tops. I chose a long one as I had a set of speakers on the right and left so I needed the space.
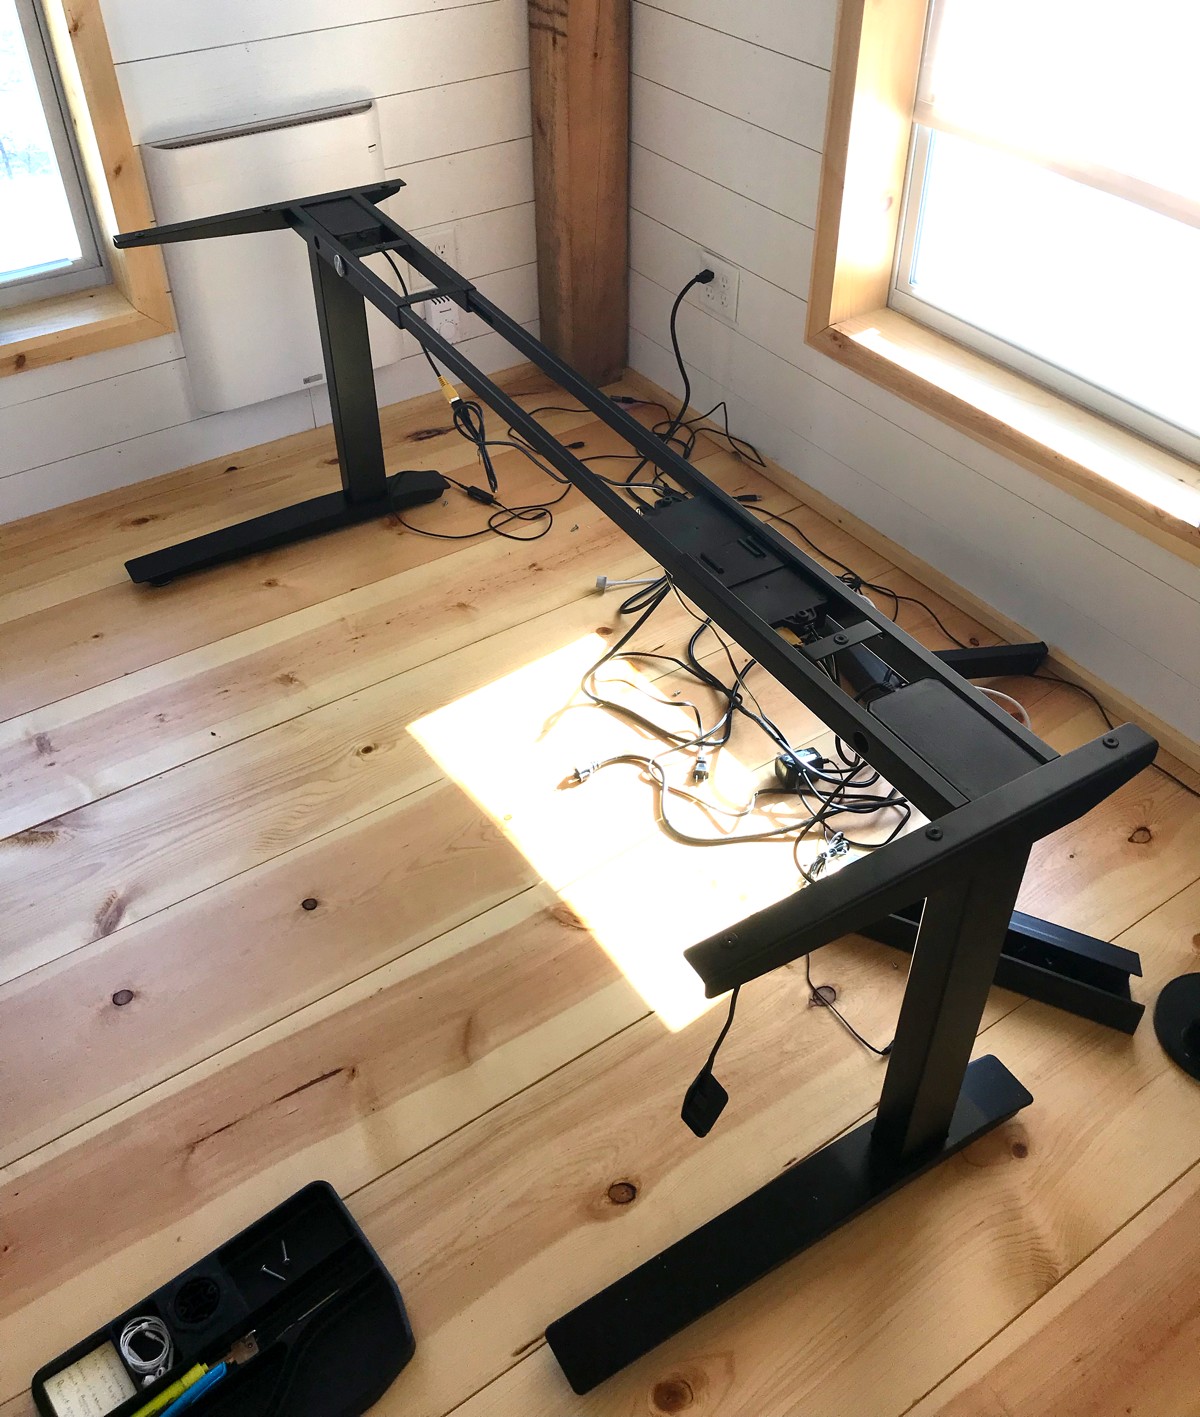
As I kicked around different ideas I realized that I could take the legs off the bamboo top and build my own specially sized top. This would allow me to tuck the desk into a corner and not have to block any windows!

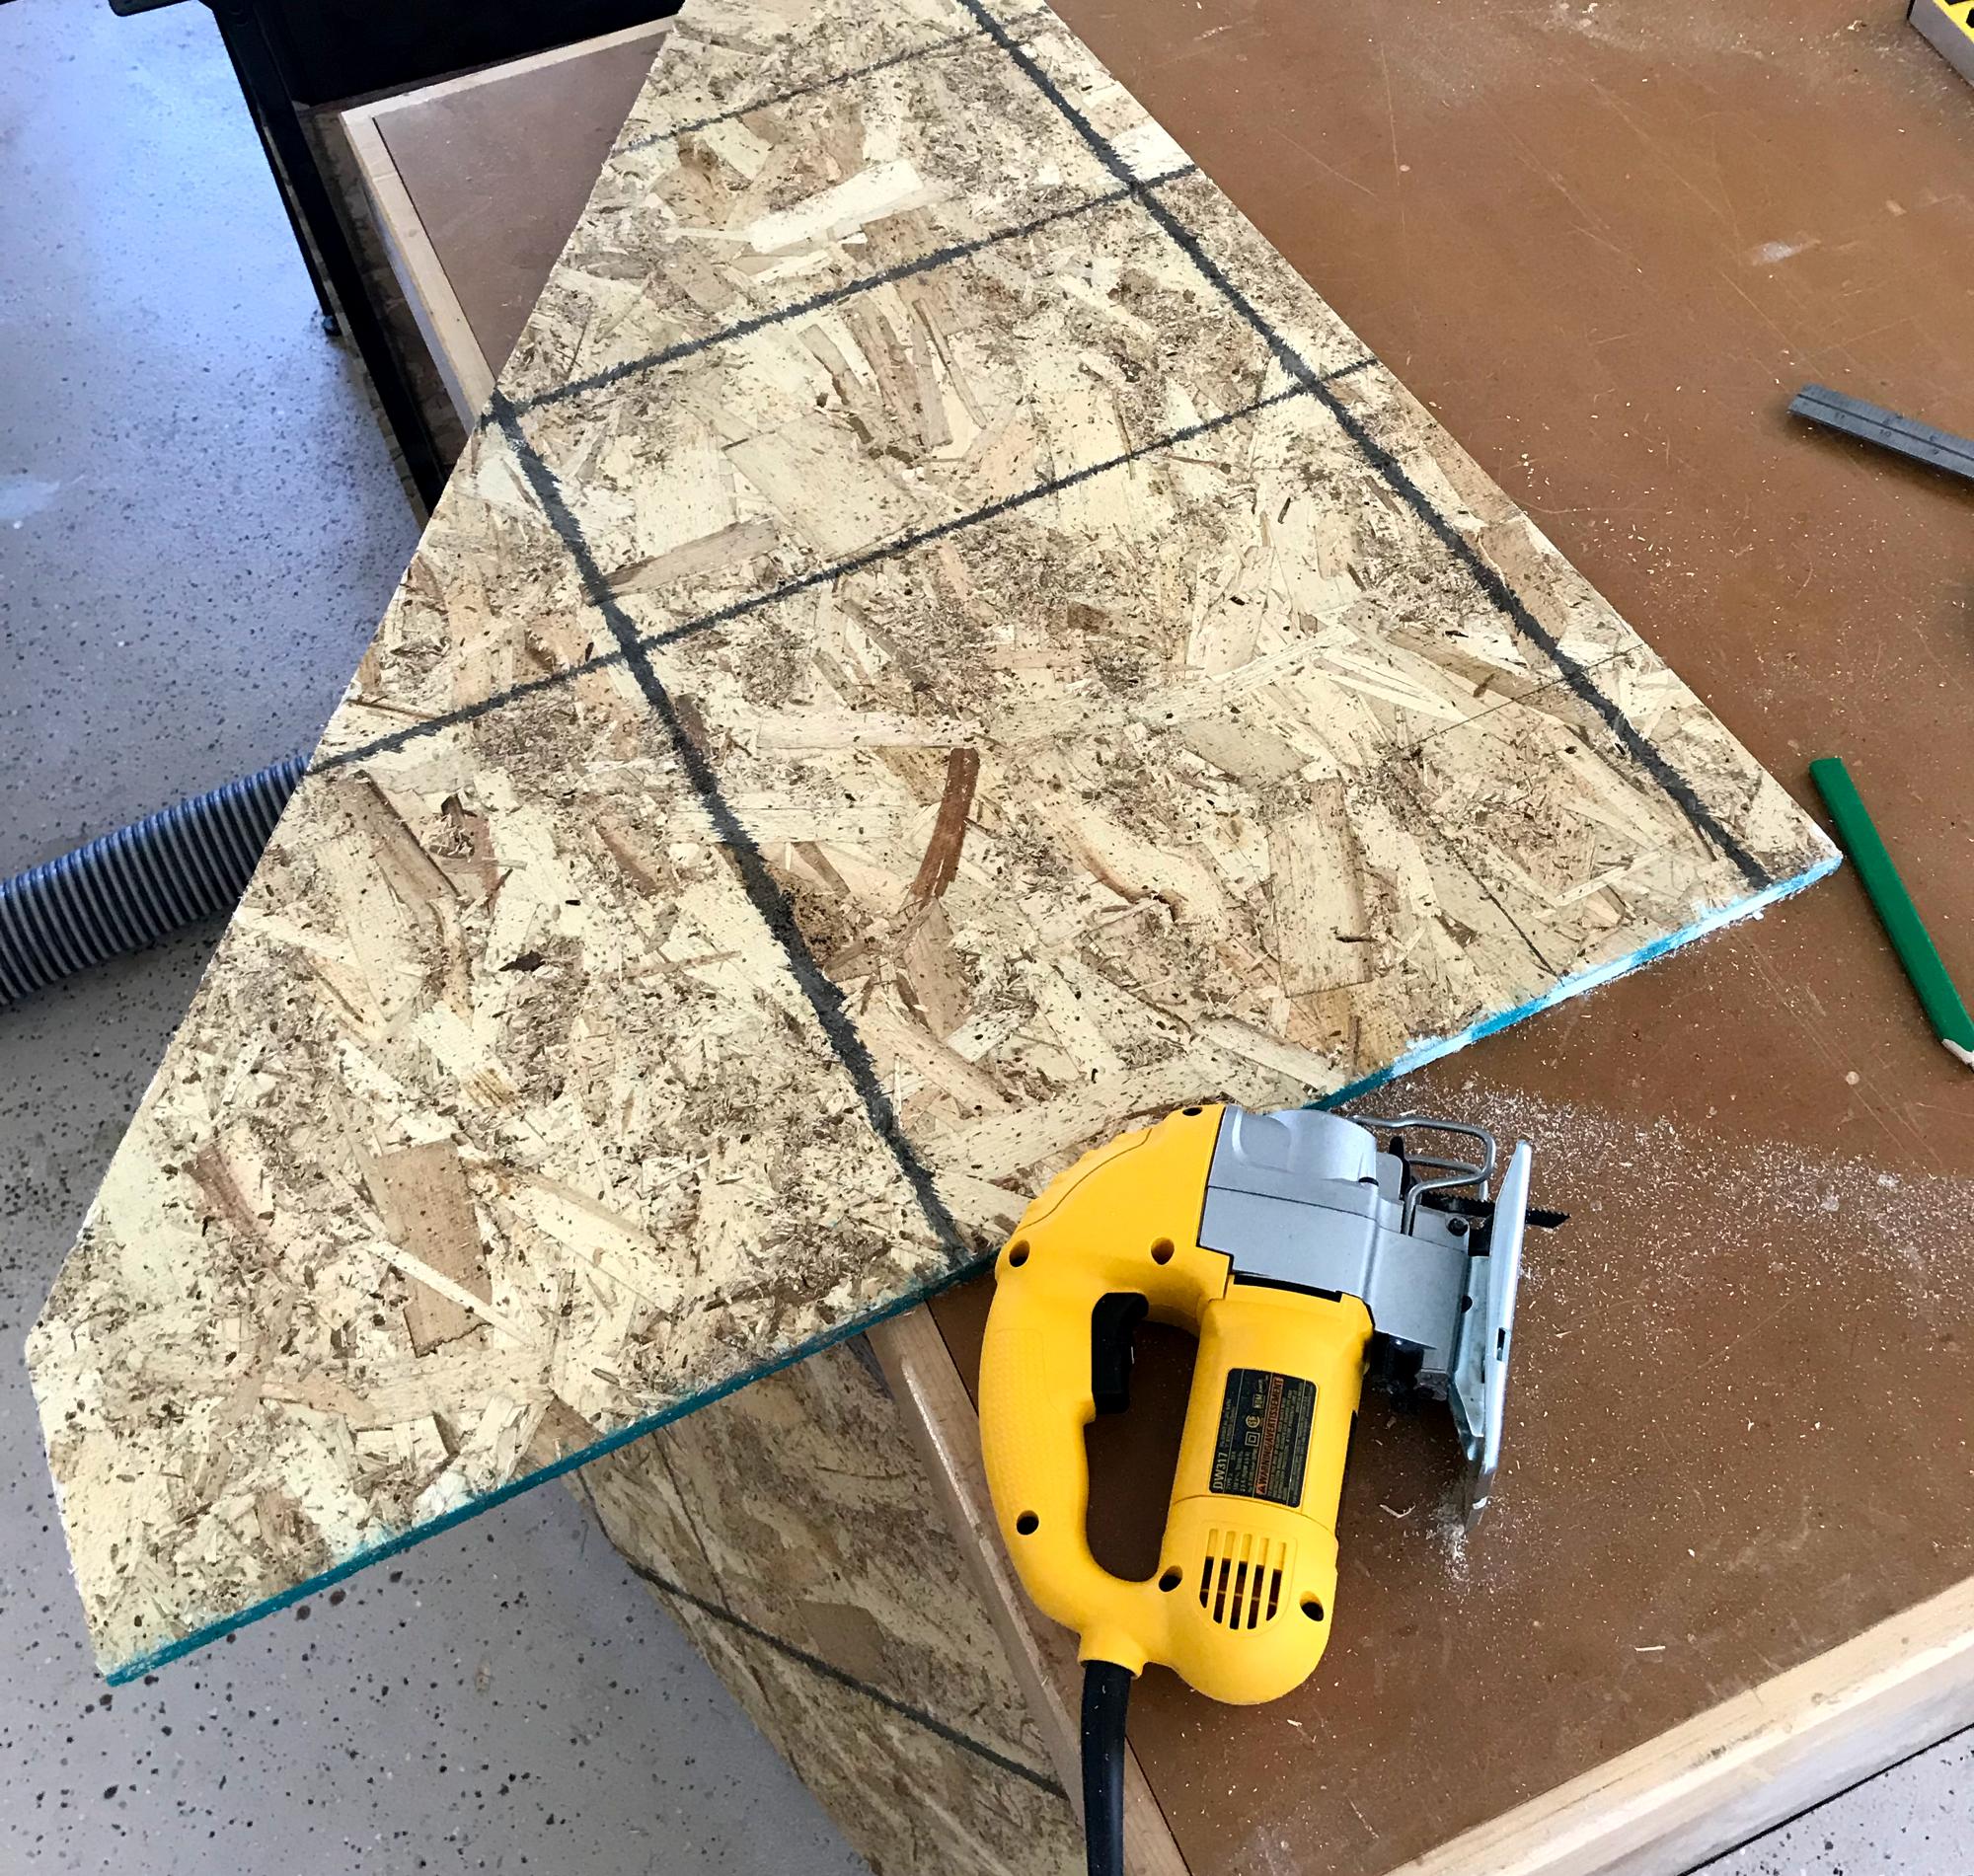
Once I saw that the legs would come off and fit in the corner I grabbed a piece of OSB and sketched out an idea.
The cabin timbers are white pine and I had a few pieces left over. One 3 inch thick, 8 foot long timber was more than enough once I resawed it into 1 1/2" thick boards.
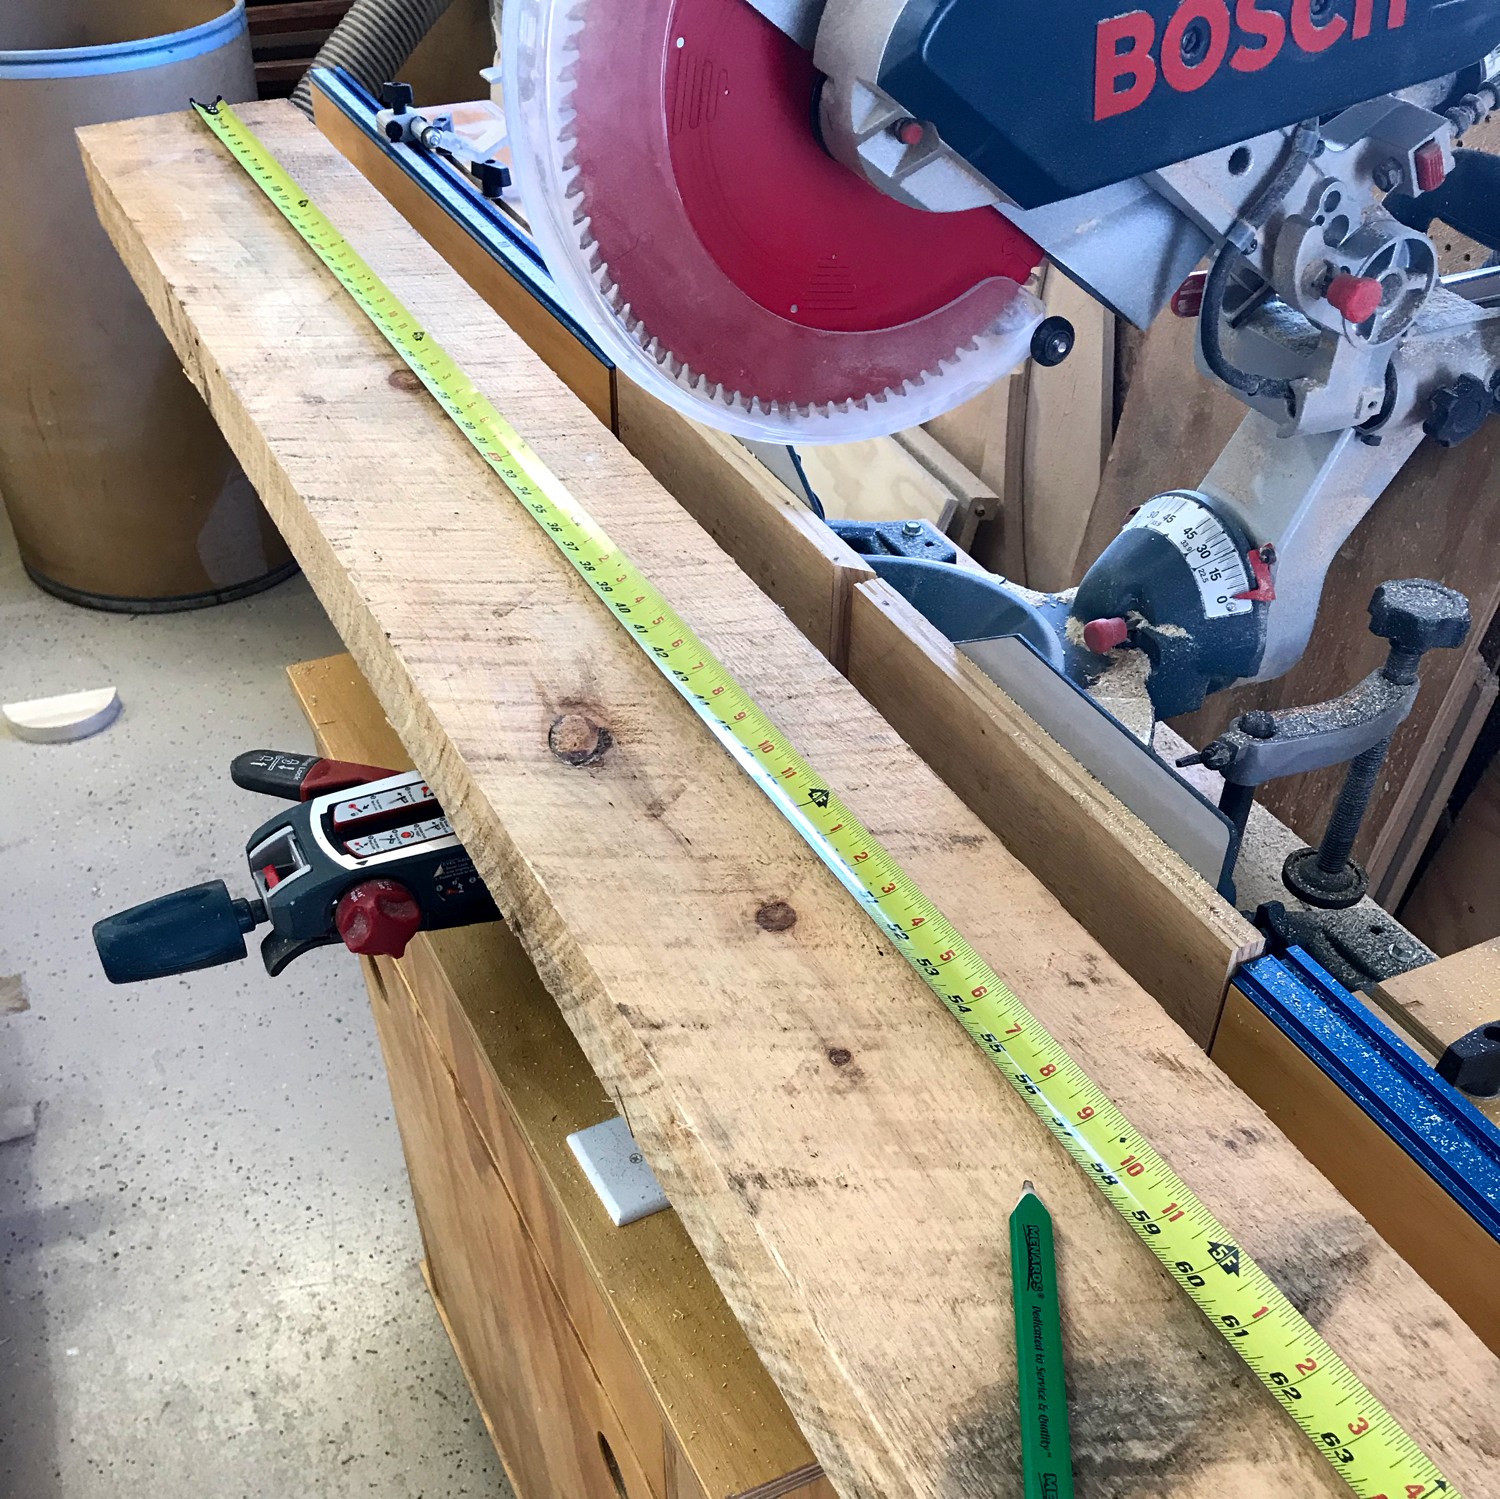
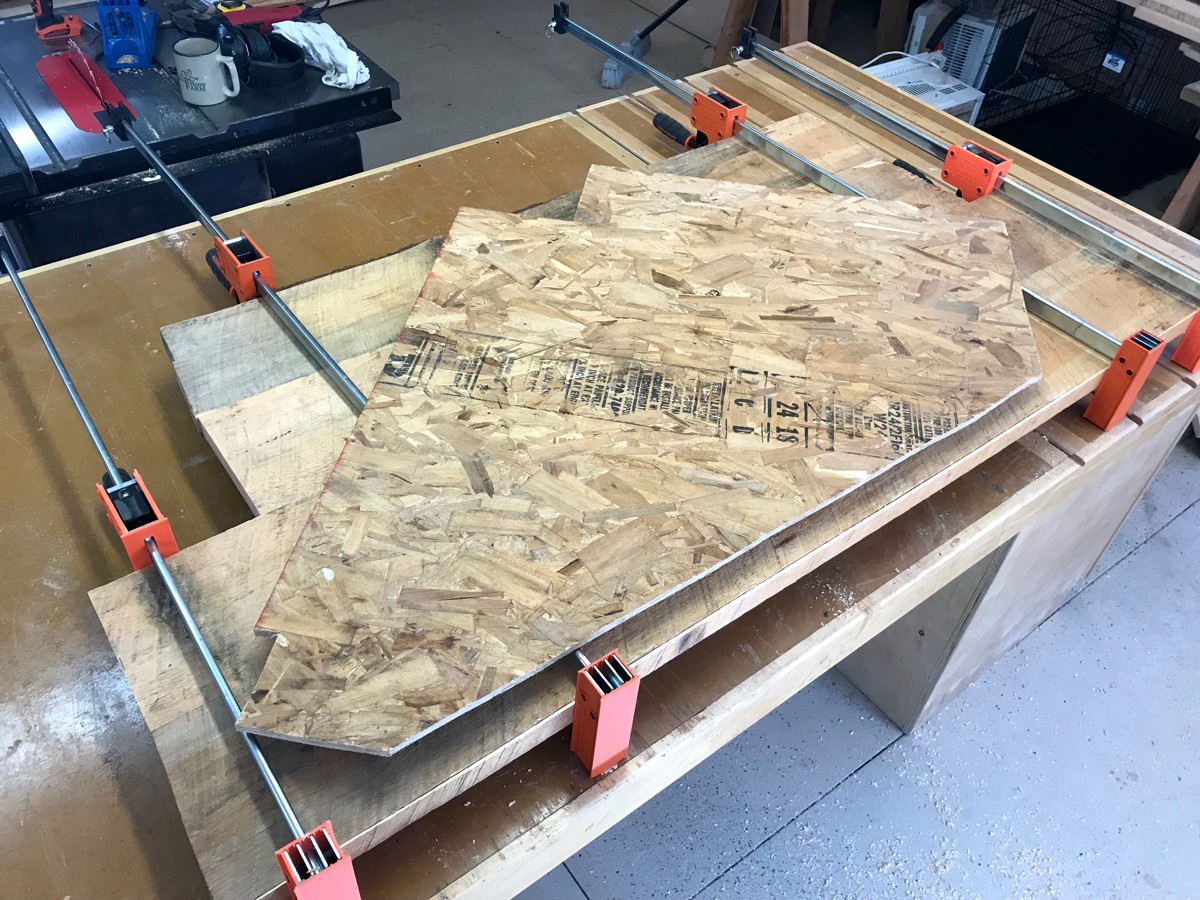
After cleaning up the edges I glued and Kreg-screwed the top into one oversized panel. I traced the OSB template and cut the edges with a circular saw.
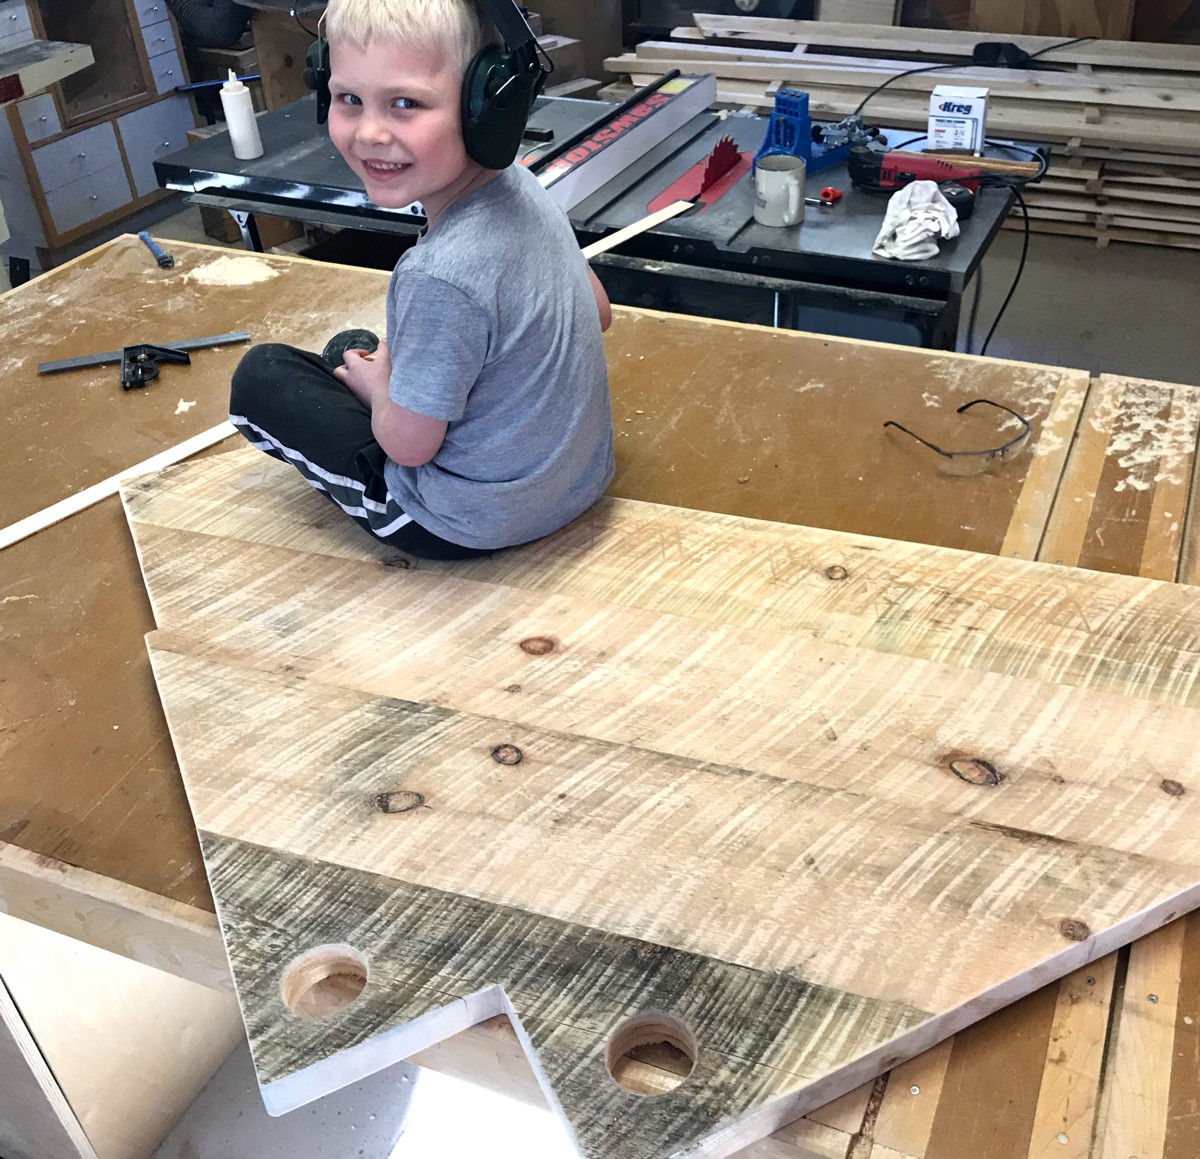
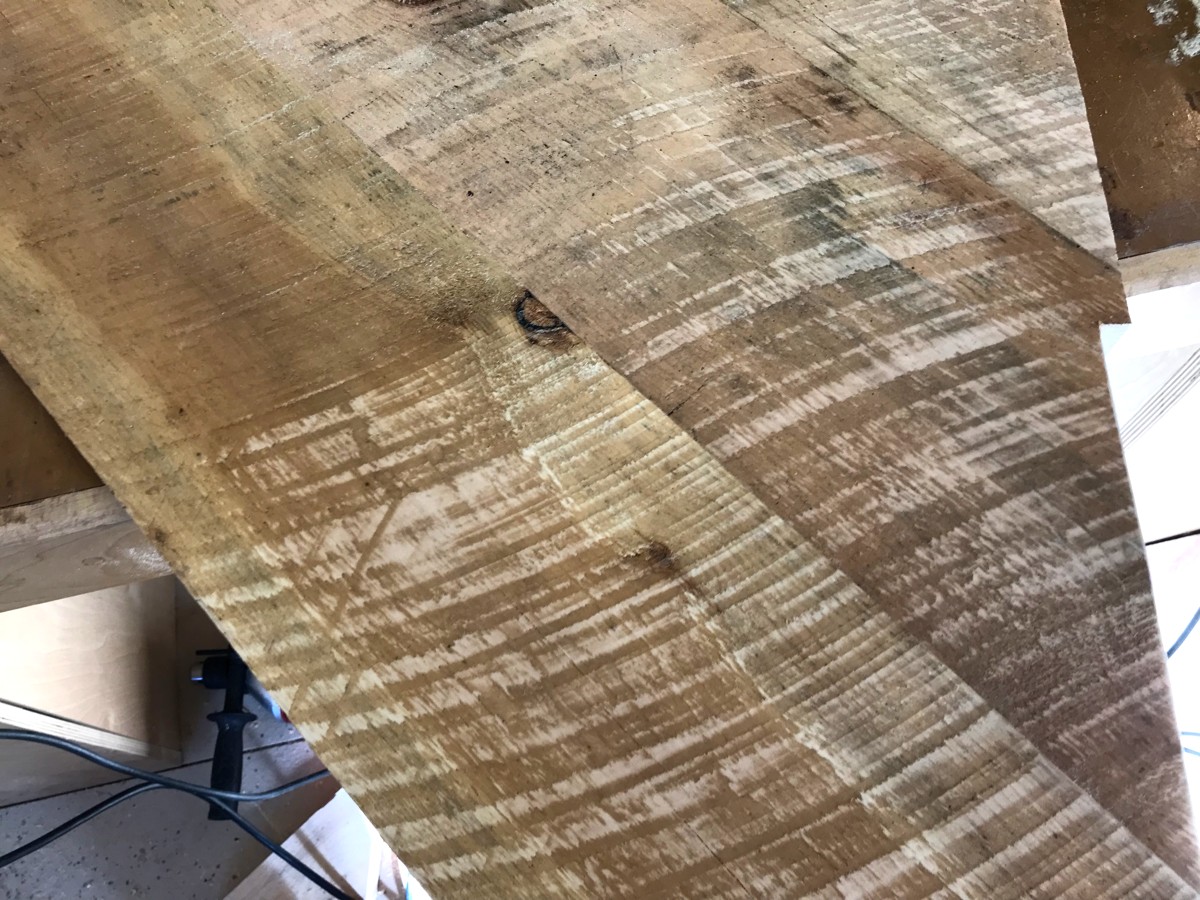
These boards were sawn in an old sawmill with a gigantic circular saw blade. That type of milling leaves a neat pattern on the surface. It was a bit too rough to leave as it was so I hit it very lightly with sandpaper to knock off the sharp splinters. The bonus is that it also highlights the character in the saw marks!
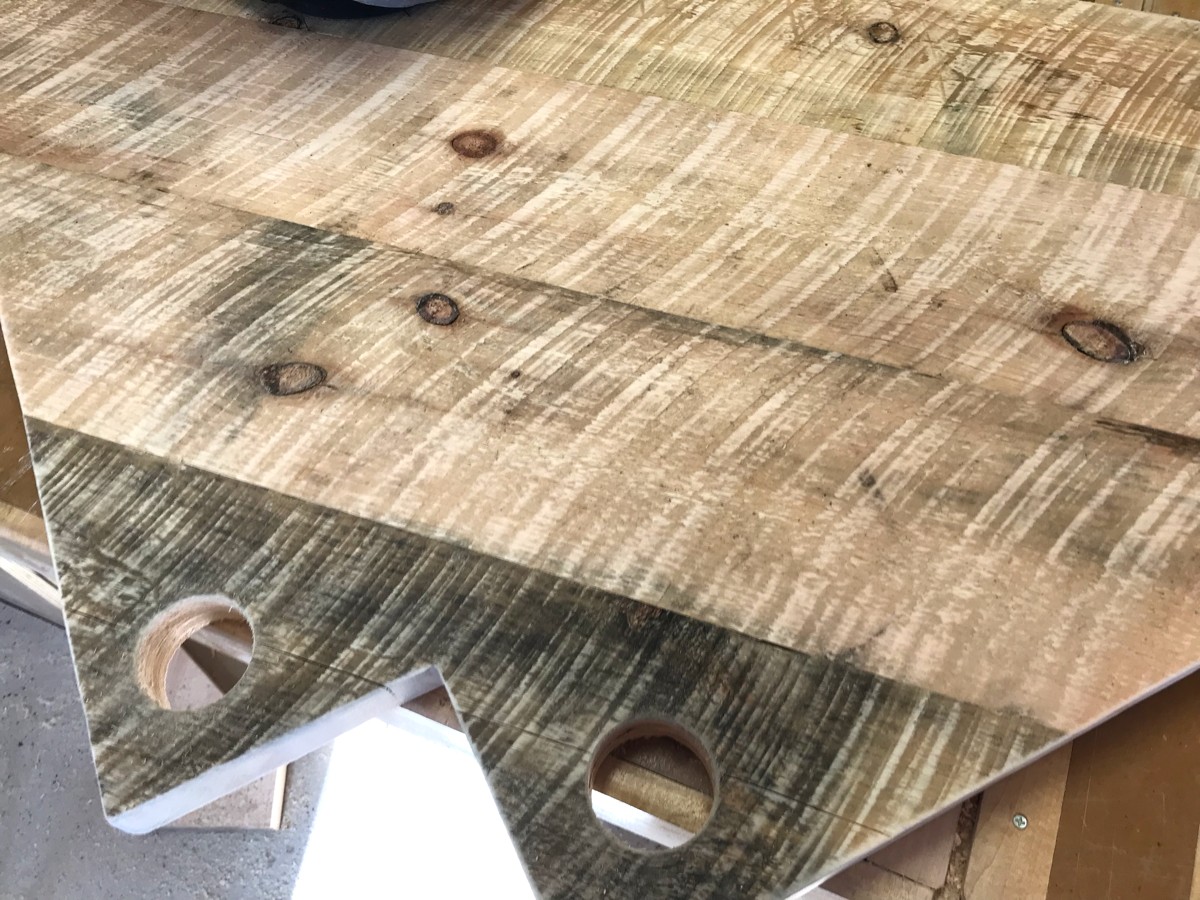
I used the sander to round over the edges, drilled a couple cable holes, and mounted it on the legs.
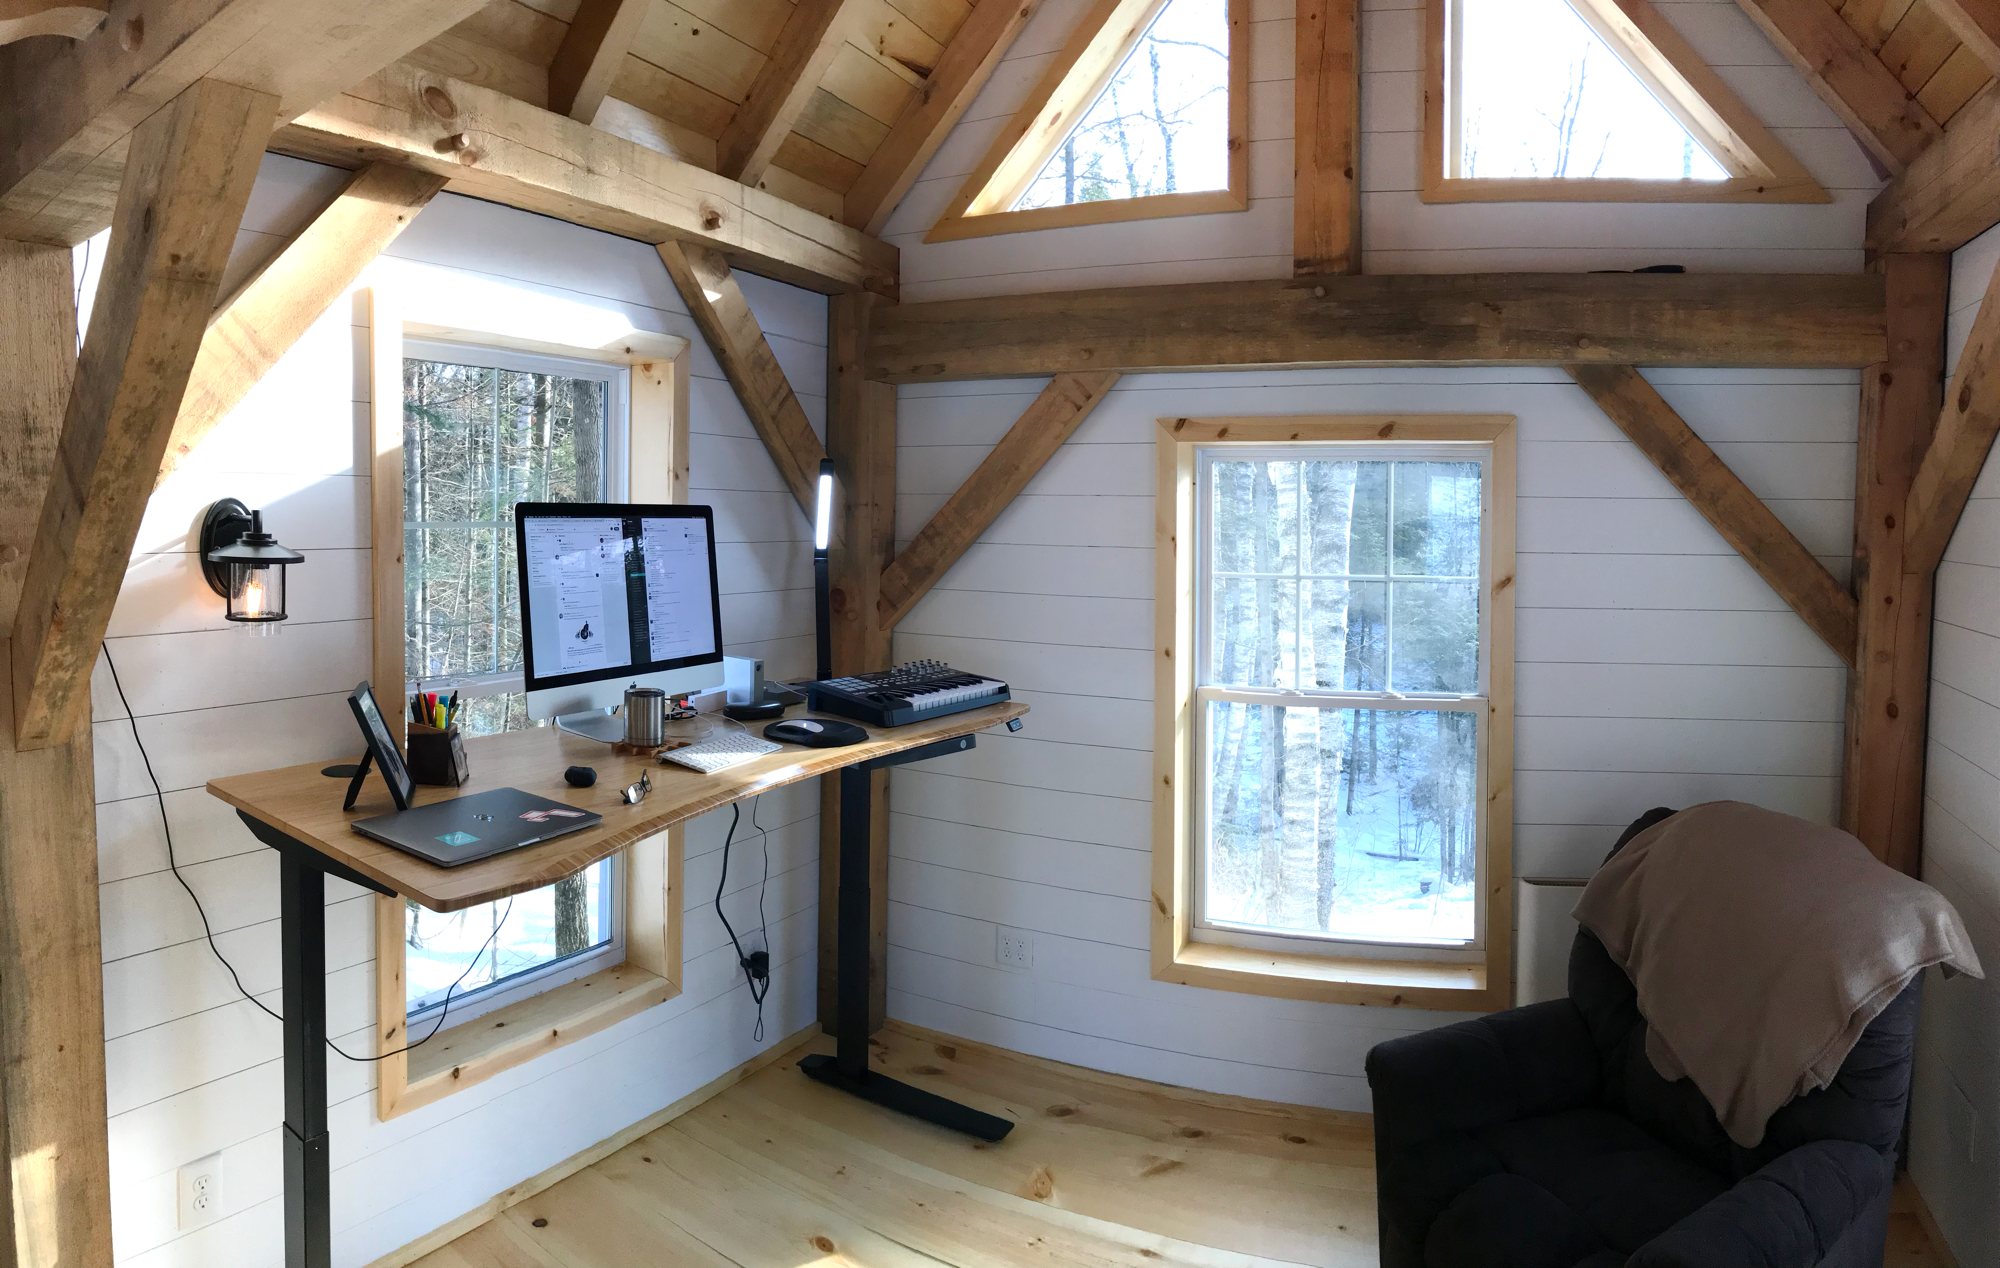
The New Corner Desk
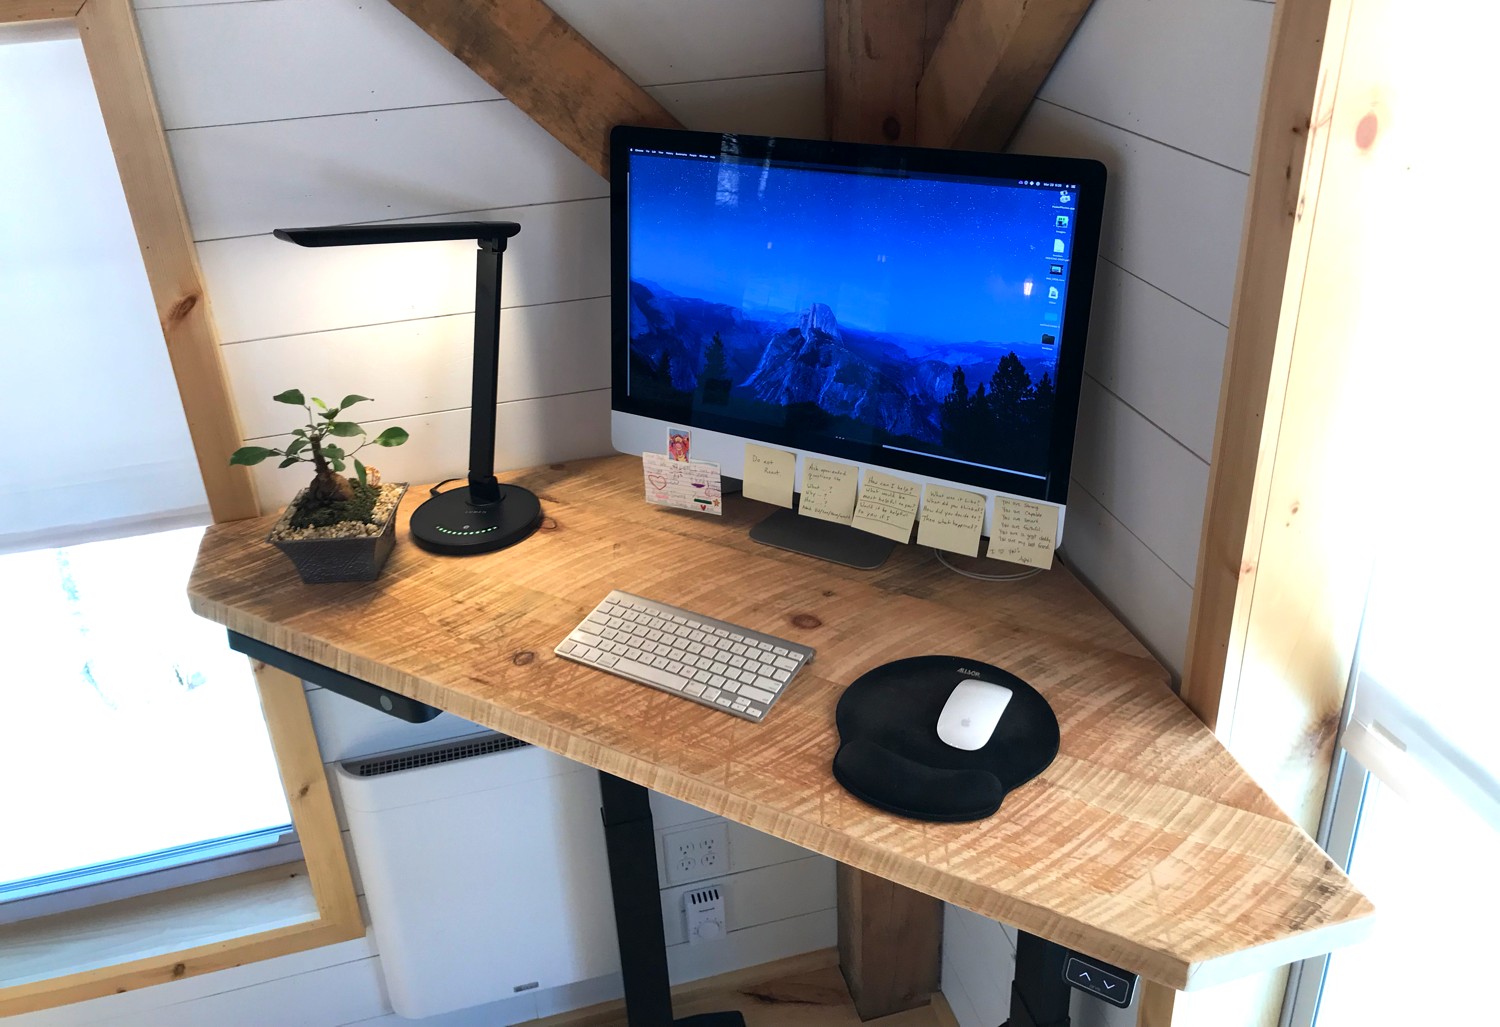
I had to cover just a touch of the right-hand window, but it's much less conspicuous and opens up options for the rest of the room.
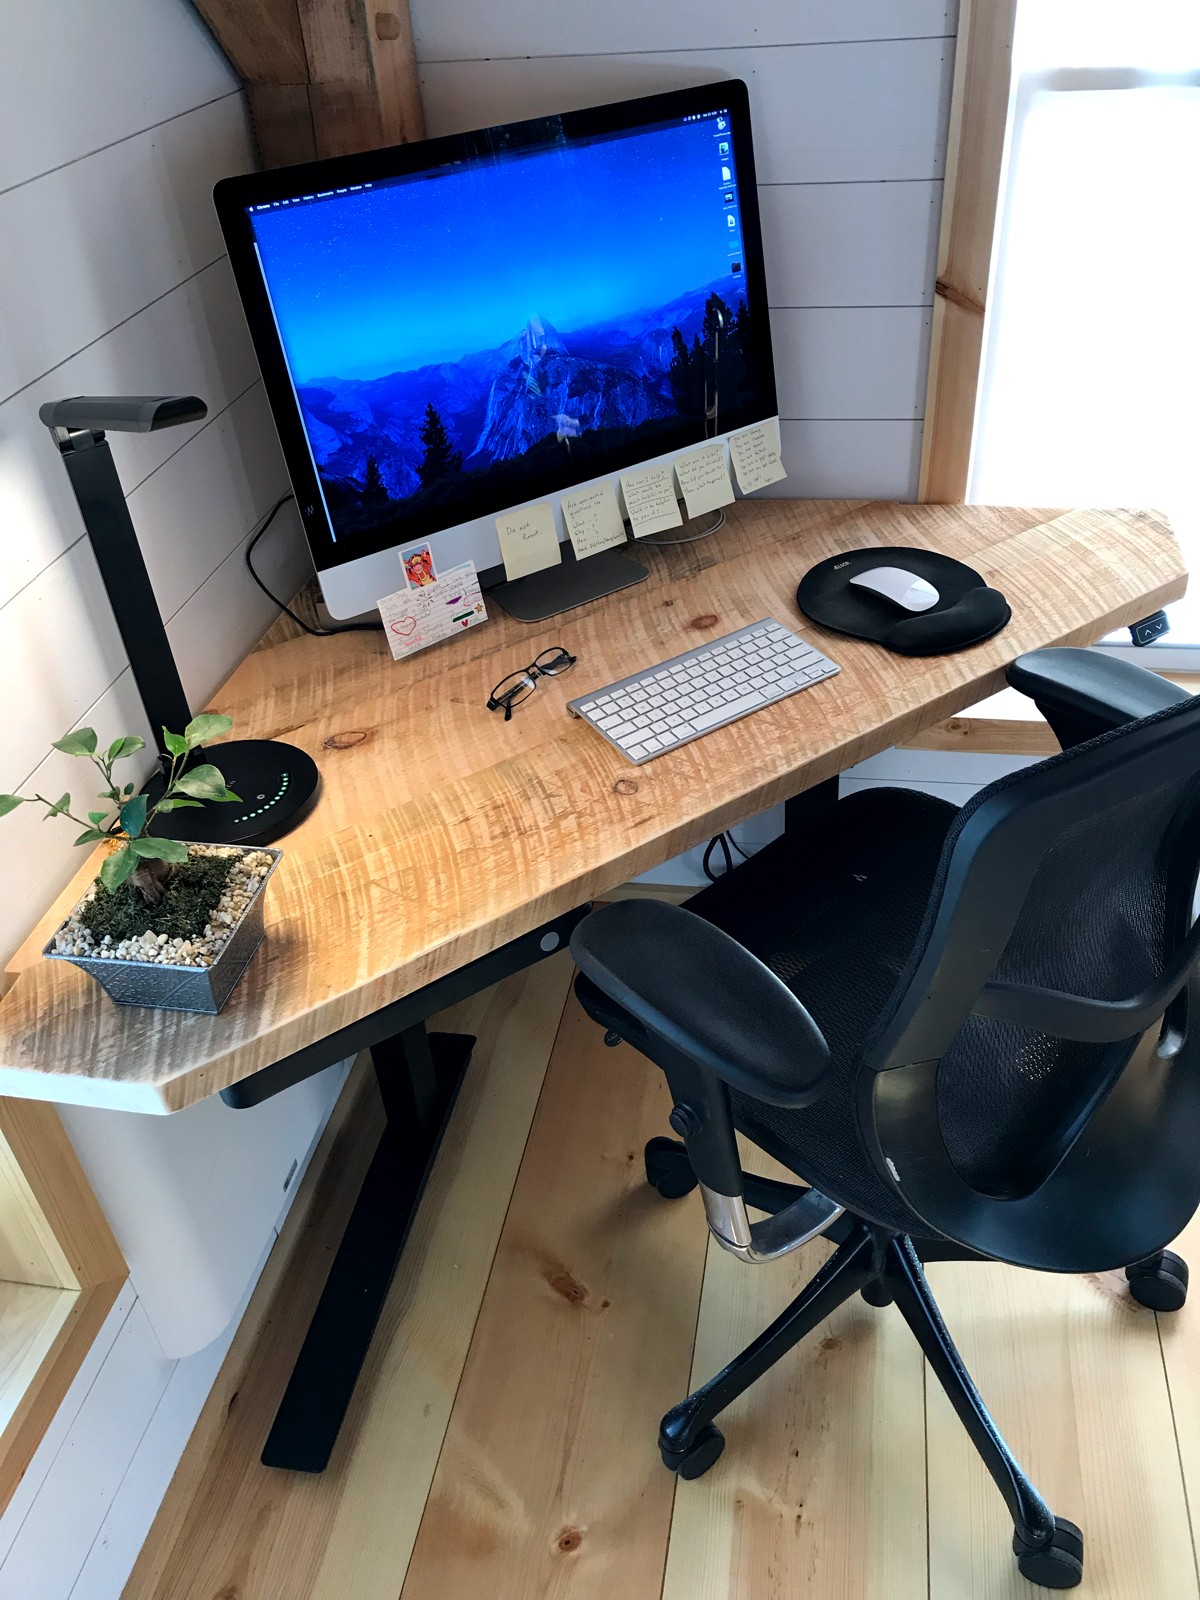
The planks have no finish on them so they will take on a nice patina over time (and when I spill my coffee!)
I'm looking forward to trying out the new configuration on Monday!